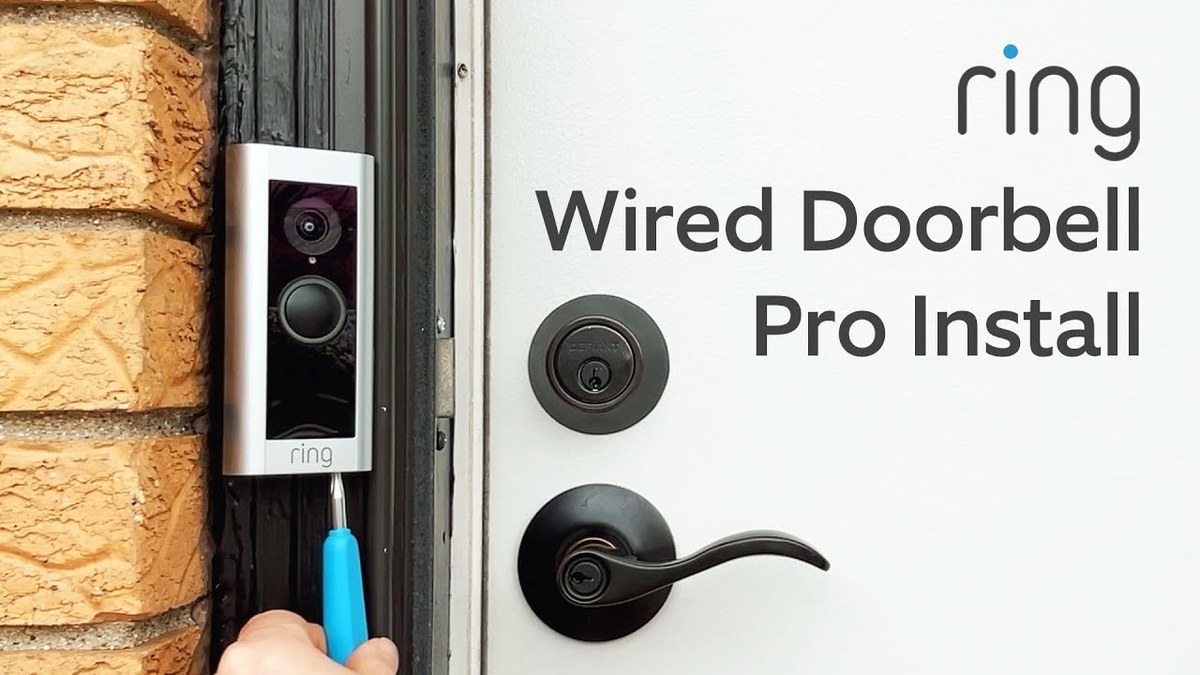
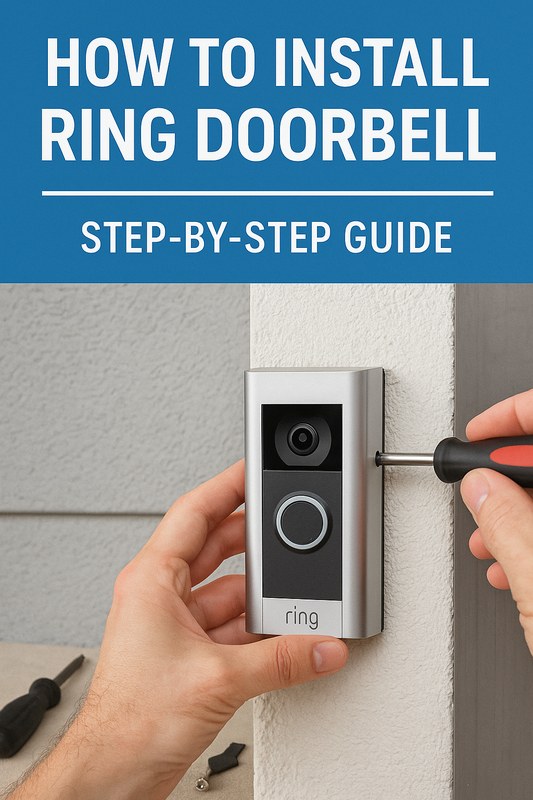
How to install ring wired doorbell 4k pro is a practical question for homeowners and renters who want a hardwired video doorbell that fits their entryway, Wi-Fi setup, and privacy needs. This guide walks through the installation process in plain English, with safety checks, compatibility notes, and the everyday setup steps that matter after the doorbell is mounted.
What to know before you start
Before you touch any wires, confirm the exact model name in the Ring app or on the box, because wiring, chime compatibility, and app setup can vary by product revision and region. If you are replacing an existing wired doorbell, the job is usually simpler than a first-time installation, but it still involves low-voltage electrical work and exterior mounting.
If you are comparing wired and battery-powered options, it may help to read more about wired versus battery doorbell differences and the broader Ring doorbell installation process. Those guides can give you a sense of what changes when power comes from the home wiring instead of a removable battery.
Check compatibility first
Check compatibility before installing the doorbell.
The most common installation mistake is assuming an existing doorbell circuit will work without checking it. You need to verify three things: power, chime, and space. Power means the transformer and wiring can support the doorbell. Chime means your mechanical or digital chime can work with the device or its required accessory. Space means the door frame, siding, or trim can physically fit the mounting bracket and allow the camera to see the approach area.
If you are not sure whether your current doorbell setup is wired correctly, it may help to review a related install walk-through like the Ring Battery Doorbell Installation Guide or the Ring Doorbell Chime Setup Guide. Even though those articles cover different variants, the compatibility logic is similar: confirm the power source, then confirm the chime behavior, then finish app setup.
Tools and conditions you should plan for
Most installations call for a screwdriver, drill, anchors or screws appropriate for your wall material, a level, and a smartphone with the Ring app installed. You may also need a voltage tester, depending on how your existing doorbell is wired and how comfortable you are verifying the circuit is off.
For apartment residents and renters, the biggest issues are usually permission and reversibility. A no-drill or minimal-drill mount may be better if you are not allowed to modify the door frame, but any mounting method still needs to hold the doorbell securely and keep the camera aimed properly.
Step-by-step installation overview<
Installation steps shown for a smart home security doorbell setup.
1
Confirm requirements
Identify the exact model, verify power and chime compatibility, and make sure your Wi-Fi and account setup are ready before you remove the old doorbell.
2
Plan safe placement
Choose a height and angle that captures visitors while limiting unnecessary views of sidewalks, neighbors’ windows, or shared hallways.
3
Install and secure
Turn off power, remove the old doorbell, connect the wires to the new bracket or terminals, mount the device, and follow the app prompts.
4
Test and maintain
Test the chime, live view, motion alerts, and night behavior, then keep the firmware, app, and router updated over time.
1) Turn off power and remove the old doorbell
Start at the breaker panel and shut off power to the existing doorbell circuit if your home setup allows you to identify it. Then remove the old button or cover carefully. If you see frayed insulation, loose conductors, corrosion, or signs of overheating, stop and bring in a qualified electrician or installer.
2) Prepare the mounting area
Clean the surface, check the fit, and decide whether you need a wedge or angle mount to see the walkway more clearly. The goal is to capture the area a visitor uses, not the street or your neighbor’s porch if that can be avoided. In multi-unit buildings, placement matters even more because shared entrances and public hallways can create privacy concerns.
3) Wire the doorbell and mount the bracket
Attach the existing low-voltage wires to the terminals or connector exactly as the manual shows. Do not force the wires, and make sure they are seated securely. If the model requires a power kit, bypass, or chime accessory, install that component before tightening the doorbell to the wall.
This is the point where many DIY installers benefit from slowing down and checking the manual twice. If you have a digital chime, a smart chime, or a nonstandard transformer, the wiring path may differ from a typical mechanical setup.
4) Connect the app and Wi-Fi
Once the hardware is mounted, open the Ring app and follow the pairing prompts. You will usually need the home Wi-Fi password, the device’s QR code or setup code, and a stable signal near the front door. If the doorbell sits near the edge of your router’s range, test the connection before fully tightening the faceplate.
Privacy, recording, and household sharing
A video doorbell can help you see package deliveries and arrivals, but it also records or stores information about people outside your home. That means privacy settings matter. Review motion zones, privacy zones, alert sensitivity, and audio options before you rely on the device every day.
In neighborhoods with close spacing, it is wise to aim the camera at your entry path rather than toward a sidewalk or adjacent unit. If your doorbell captures public areas or shared spaces, be aware that local expectations and state rules can vary. When in doubt, reduce the field of view and limit unnecessary recording.
Storage, alerts, and subscription considerations
Before you finish setup, decide how you want recordings handled. Some households are fine with basic live alerts, while others want cloud recording, extended history, or advanced alert features. The right choice depends on how often the doorbell is used, how many people share the account, and whether anyone needs to review footage after the fact.
Local Storage
Hardware-based storage can keep footage closer to home.
Access may be simpler for some households if the device supports it.
Physical theft or damage can affect stored clips.
Cloud Storage
Often depends on a subscription or account plan.
Access is usually tied to the vendor account and internet service.
Retention, export, and deletion rules vary by plan and region.
If you want a deeper look at plan-related tradeoffs, see the Ring Doorbell Subscription Guide. It is useful for understanding what may be included without a plan and what usually depends on an ongoing service tier.
Security, support, and compliance checks
Do not assume every US model has the same certification, weather rating, or support terms. Those details can vary by exact product version, retailer bundle, and update cycle. If the manufacturer lists FCC authorization, UL or ETL safety status, or a weather resistance rating, verify the exact model rather than relying on a marketing summary.
Pros and limitations to keep in mind
Advantages
Hardwired power can reduce the need to recharge a removable battery.
Continuous power may support more consistent front-door monitoring.
App alerts and shared access can help families and caregivers stay informed.
Limitations
Installation depends on compatible wiring, transformer capacity, and chime setup.
Cloud features or extended history may depend on a subscription.
Privacy and placement require more care in apartments and close-set homes.
How to troubleshoot common setup problems
If the doorbell does not power on, recheck the breaker, wiring terminals, and transformer compatibility. If the chime does not ring, verify the chime kit or bypass accessory and confirm the app’s device settings. If the live view is slow or unstable, move the router closer, improve mesh coverage, or reduce interference from walls and appliances.
For households deciding between models, it may also help to compare the broader ecosystem in a guide like Ring Battery Doorbell 2K vs 4K or the feature-focused Ring Doorbell Pro Night Vision Review Guide. Those articles can help you understand how image quality, detection behavior, and installation style may differ across the lineup.
Maintenance after installation
After the doorbell is installed, check it periodically. Make sure the lens is clean, the mounting screws are tight, the app is updated, and the home network still reaches the front door reliably. If the device uses cloud storage, review account access from time to time and remove users who no longer need it.
Also test the doorbell after major weather, router changes, or power outages. A smart device can look fine but still have weak Wi-Fi, delayed notifications, or a chime issue that only shows up when someone presses the button.
Evidence Check
Method or sourceExact-model manual, Ring support pages, and current plan or compatibility documentation should be checked before install.
Verified findingWired video doorbells commonly require power, chime, app, and Wi-Fi checks before final mounting.
Main limitationInstallation steps can vary by home wiring, firmware, and accessory requirements.
Final Takeaway
The safest way to install a Ring wired doorbell is to confirm compatibility first, shut off power, mount it at a privacy-conscious angle, and finish setup in the app only after the wiring and chime checks are complete. For homeowners and renters alike, the main limitation is not the app—it is whether the existing wiring, permissions, and Wi-Fi are ready for the job.
Yes, if your current doorbell wiring provides the correct low-voltage power, the Ring Wired Doorbell 4K Pro can usually replace it. Before installing, verify the transformer voltage and check that your chime setup is compatible.
No, because it is a wired device, it depends on household power and your doorbell transformer. If power or internet goes out, live video and alerts will stop until service returns.
No hub is typically required for installation, since it connects directly to your home Wi-Fi. You should still confirm your Wi-Fi signal is strong at the front door before mounting it.
Check the voltage of your transformer, the condition of the existing wiring, and whether your chime is compatible. Also make sure you have the right tools, mounting space, and enough Wi-Fi coverage.
Basic installation and live viewing may work without a subscription, but recorded video storage and many smart features usually require a Ring plan. Review the current plan details before you buy so you understand the ongoing ownership cost.
Use a strong unique password, enable two-factor authentication, and keep the app and firmware updated. Review motion settings and shared-access permissions so only trusted people can view the camera.
Hi, I'm Marcus Sterling, a smart home security expert with over 5 years
of hands-on experience testing and reviewing hundreds of security cameras, smart locks, and alarm systems. My mission is to make smart home security accessible, affordable, and easy to understand—and every review I publish is 100% independent, unbiased, and honest. I don't accept payments for positive reviews, just practical advice to help you secure your home with confidence.
Installing the eufy Video Doorbell E340 takes only a few basic steps, whether we use its rechargeable battery or existing doorbell wiring. We can mount it near the entryway, connect it to the eufy Security app, and adjust its settings for reliable alerts. We can install the E340 with battery power or 16–24 VAC wiring,…
Quick Security Answer If you are checking arlo video doorbell installation, start with power, Wi-Fi, and mounting height. Most beginners can handle it, but uncertain wiring or rental rules are good reasons to choose a battery setup or call a pro. Arlo video doorbell installation is usually manageable for beginners when you check power, Wi-Fi,…
Google home and ring video doorbell can work together in practical ways, but the setup is not as seamless as many homeowners expect. If you want reliable alerts, a clear view of your front door, and fewer privacy surprises, the key is understanding what Google Home can do with Ring, what it cannot do, and…
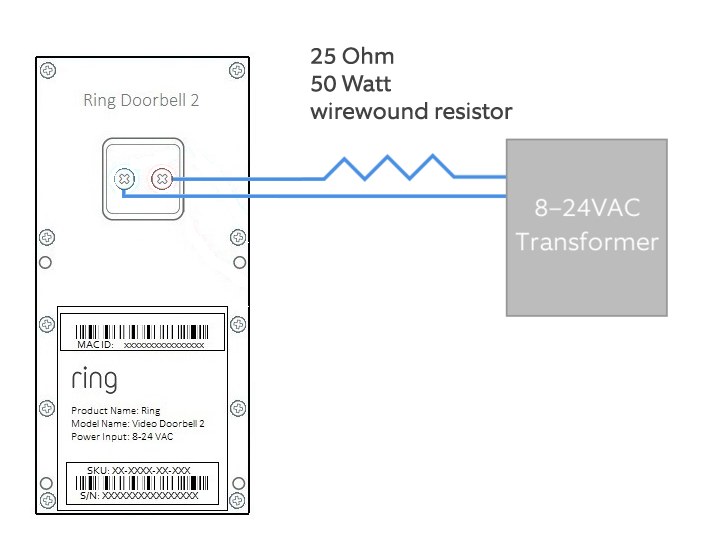
Quick Security Answer A ring video doorbell resistor can help a wired Ring setup work with the right chime, but only when the exact model calls for it. Check the transformer, chime type, and manual before you touch any wiring. The ring video doorbell resistor helps some wired Ring setups work with an existing chime….
Quick Security Answer SimpliSafe video doorbell installation is usually simple if your wiring, Wi-Fi, and mounting spot are ready first. Renters should check permission rules before drilling, and every user should review app security and recording settings after setup. Simplisafe video doorbell installation is usually simple for a homeowner with wired doorbell power. But the…
Setting up the eufy Video Doorbell E340 gives us a clear view of our entryway and phone alerts when someone arrives. We can install it with battery power or connect it to compatible existing doorbell wiring. We can complete the setup by charging the battery, choosing a suitable mounting spot, installing the hardware, and connecting…