Most Ring battery doorbells can be installed by a careful beginner with basic tools and the app. The biggest success factors are the right mounting surface, strong Wi-Fi, and a placement that respects privacy.
ring battery doorbell installation is usually a manageable DIY project for many homes. The best results come from careful prep. You need the right mount, a strong Wi-Fi signal, and a spot that balances video coverage with privacy.
Ring Battery Doorbell Installation: What Beginners Need to Know First
For most beginners, the job is more about planning than wiring. A battery-powered video doorbell is often simpler than a hardwired model. It still needs the right surface, app setup, and network connection to work well.
Quick answer: can you install it yourself, and what the basic process looks like
Yes, many homeowners and renters can install a battery doorbell themselves. The mount must fit the surface, and the app setup should be straightforward.
The basic process is simple. Charge the battery, choose a safe mounting spot, fasten the bracket, attach the doorbell, then finish setup in the app.
If your entryway has unusual siding, weak Wi-Fi, or existing doorbell wiring you are unsure about, slow down and check the manual first. The safest path is to treat uncertain wiring or exterior drilling as a stop point until you confirm the exact requirements.
Who this guide is for: renters, homeowners, and first-time smart doorbell users
This guide is for people who want a clear setup path without technical jargon. It also helps renters who need to avoid damage.
It can help homeowners who want a better angle. It also helps families who want shared access without confusion.
If you are new to smart home gear, focus on three things first: power, Wi-Fi, and placement. Those three choices shape nearly every later issue.
Before You Start: Compatibility, Tools, and Home Setup Checks
Check compatibility, gather tools, and review home setup before installation.
Before you drill, check the surface, the network, and the included hardware. A few minutes of prep can prevent crooked video, weak alerts, and avoidable rework.
Confirming your doorframe, siding, and mounting surface
Start by looking at what the bracket will attach to. Wood trim, vinyl siding, brick, stucco, and metal surfaces each need different fasteners or anchors.
For renters, this step matters even more. Some surfaces may need holes you cannot easily repair. A removable mount or approved adhesive option may be better if the manufacturer supports it.
Checking Wi-Fi strength, router placement, and 2.4 GHz requirements
Many battery doorbells use 2.4 GHz Wi-Fi. It reaches farther than 5 GHz, but it can be slower. That band is common for smart home devices because it often works better at the front door.
Check the signal at the door, not just near the router. If the router is deep inside the home, a mesh node or closer placement may help. For a broader network setup refresher, see our guide to Blink Outdoor 4 vs Ring, which also explains how placement affects wireless reliability.
Deciding whether you need a wedge, corner mount, or adapter
A flat mount is not always the best choice. If your door faces a porch rail, stairs, or a side wall, a wedge or corner mount can improve the camera angle.
Some homes also need an adapter or power accessory. This is more common if the model supports optional wiring. Check the exact product page and manual before assuming the standard bracket will work.
Tools, hardware, and app setup you should have ready
Gather the drill, screwdriver, level, anchors, screws, and charging cable before you begin. A pencil and tape measure also help when you mark the height and center point.
Set up the Ring app on your phone first if possible. Make sure you can sign in, update the app, and connect to your home Wi-Fi before you mount the device.
Choosing the Best Placement for Video, Motion, and Privacy
The right location improves video quality and reduces false alerts. It also helps you avoid recording too much of a sidewalk, street, or neighbor’s property.
Height and angle recommendations for a clear field of view
Most doorbells work best when mounted around chest height for an adult. That is often near the manufacturer’s recommended range. The goal is to see faces, not just hats or packages.
Keep the lens aimed so the bottom of the frame shows the doorstep. If the camera points too high, you may miss deliveries. If it points too low, you may lose visitor faces.
How porch layout, stairs, and package drop zones affect placement
Porch depth changes everything. A deep porch may hide visitors unless you use a wedge or move the mount outward.
Stairs and package drop zones also matter. If deliveries land off to the side, the camera should cover that path without turning the whole street into a recording zone.
Balancing motion detection with neighbor and street privacy
Motion alerts are useful, but too much coverage can become a privacy problem. A camera that watches the sidewalk, a shared driveway, or a neighbor’s door may create tension.
Think about what the camera truly needs to see. The best setup usually covers your entry path and delivery area, not the whole block.
Using privacy zones and motion zones to reduce unwanted capture
Privacy zones block parts of the image, while motion zones limit where alerts trigger. These settings can reduce unwanted capture of cars, pedestrians, and neighboring windows.
Use them after installation, then test the result in daylight and at night. Small adjustments often make a big difference.
Step-by-Step Ring Battery Doorbell Installation<
A guide shows the parts needed to install a Ring Battery Doorbell.
/h2>
Once you have the right spot and hardware, the install itself is usually simple. Take your time with the bracket. A small alignment mistake can affect video and motion detection later.
Charging the battery and preparing the device
Charge the battery fully before mounting. That makes setup easier and helps you complete app pairing without interruption.
While it charges, unpack the bracket, screws, anchors, and any angle kit. Confirm that every part listed in the manual is present.
Mounting with screws, anchors, or renter-friendly options
Mark the mounting holes carefully, then drill only if the surface needs it. Use the correct anchors for masonry or hollow surfaces. Do not force screws into brittle trim.
If you rent, check lease rules before drilling. If the product supports a no-drill or removable option, use only the method approved by the manufacturer.
Attaching the doorbell and securing the battery compartment
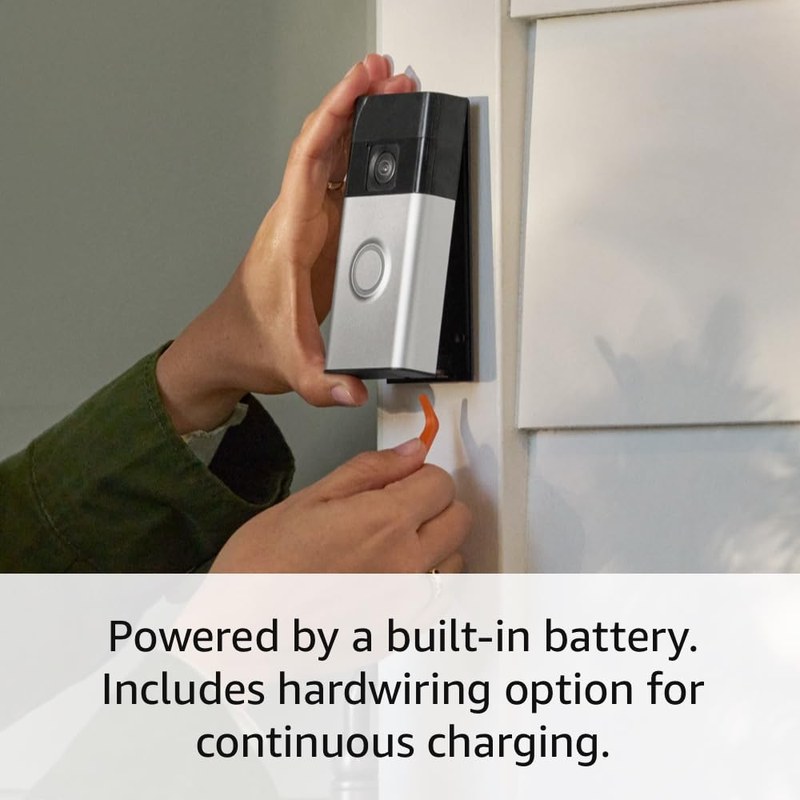
After the bracket is secure, attach the doorbell body and confirm it sits flat. A loose fit can cause vibration, poor weather sealing, or a crooked image.
Then close the battery compartment and make sure it locks as intended. If the unit feels unstable, remove it and check the bracket again.
Connecting the device in the Ring app and completing setup
Open the app, add the device, and follow the pairing prompts. You will usually connect the doorbell to Wi-Fi, name the device, and set alert preferences.
After setup, test live view, motion alerts, and two-way talk. If the app offers firmware updates, install them before you rely on the device daily.
1
Confirm requirements
Verify the exact model, power, network, storage, placement, household, rental, and platform requirements.
2
Plan safe placement
Consider privacy, field of view, weather, height, doors and windows, wiring, and emergency access.
3
Install and secure
Follow the exact manual, update firmware, use a unique password, and enable MFA.
4
Test and maintain
Test alerts, recording, outage behavior, batteries, users, permissions, and backup procedures.
Power, Battery Life, and Charging Expectations
Battery models are flexible, but they need routine charging. That tradeoff is different from hardwired doorbells, which may get steady power from existing wiring.
How battery-powered operation differs from hardwired doorbells
A battery doorbell can be easier to place because it does not depend on a working chime circuit. That makes it appealing in rentals and older homes.
But battery operation means you must plan for recharging. You also need to think about how often the doorbell wakes up for motion events.
What affects battery life: motion alerts, live view, weather, and signal strength
Battery life depends on how often the camera records, how many alerts it sends, and how often you use live view. Cold weather can also reduce battery performance.
Weak Wi-Fi can make the device work harder, which may shorten runtime. If the signal is poor, fix the network before you blame the battery.
When to recharge and how to plan for downtime
Recharge the battery before it gets too low. That keeps the doorbell online and avoids a gap in coverage.
Some households keep a spare battery if the model supports one. That can reduce downtime, but it adds cost and another item to track.
Optional hardwiring considerations for continuous trickle charging
Some battery doorbells can also connect to existing wiring for trickle charging. That does not always mean the device behaves like a fully hardwired doorbell.
If you consider wiring, verify the exact voltage, transformer, and chime compatibility first. Our article on how to wire a video doorbell covers the same safety questions that apply to many battery-to-wire setups.
Wi-Fi, App Control, and Account Security Setup
Good app setup matters as much as good mounting. If the network or account is weak, the doorbell may miss alerts or expose recordings to the wrong people.
Linking the doorbell to your home network and mobile app
Connect the device to the same network you plan to keep stable. If your router uses both 2.4 GHz and 5 GHz, make sure the doorbell joins the supported band.
After pairing, verify that alerts reach your phone quickly. If they lag, check router distance, signal strength, and app notification permissions.
Using MFA, strong passwords, and account recovery settings
Use a unique password for the account. Do not reuse the password from email or shopping apps.
Enable multi-factor authentication, or MFA, if the service supports it. Also confirm that account recovery options use an email address and phone number you still control.
Shared users, device permissions, and household access management
Many families need more than one person to answer the door. Add only the people who truly need access, and review permissions after setup.
If someone moves out or no longer needs access, remove them. Shared accounts are one of the most common sources of confusion.
Firmware updates, vendor support, and long-term app dependence
Firmware is the software inside the device. Updates can fix bugs, improve stability, or change features.
Check whether the manufacturer still supports the model and app. Long-term usefulness depends on both device support and mobile app availability.
Storage, Subscriptions, and Monitoring: What You Get After Installation
Installation is only part of ownership. After setup, you still need to understand alerts, storage, and whether any plan changes the features you actually use.
Live view, motion alerts, and two-way talk without extra planning errors
Most users care most about live view, motion alerts, and two-way talk. Those features help you see who is there and speak through the app.
Still, they do not work the same way on every model or plan. Check the exact feature list before you assume a function is included.
Cloud video retention, subscription tiers, and what changes without a plan
Some doorbells save clips in the cloud, while others limit recording unless you pay for a plan. Retention means how long clips stay available before they expire.
For a closer look at storage tradeoffs, see our comparison of local storage versus cloud storage. The same basic tradeoff applies here. Local control can reduce subscription dependence, while cloud access can be easier from anywhere.
Self-monitoring versus any optional professional monitoring features
Most video doorbells are self-monitored. That means your household gets the alert and decides what to do.
If a service offers professional monitoring or related security features, read the plan terms carefully. Coverage, response steps, and fees can vary by service and region. For a broader security overview, our article on downsides of Ring cameras explains why plan details matter.
Ownership-cost breakdown: device price, accessories, battery swaps, and subscriptions
Think beyond the sticker price. You may also need a wedge, extra anchors, a spare battery, or a paid cloud plan.
Over time, those costs can matter more than the initial purchase. That is especially true if you want multiple users, longer retention, or more than one camera.
Troubleshooting, Maintenance, and Common Installation Mistakes
Most issues after installation are fixable. Start with the simplest checks first, then move to placement or hardware changes if needed.
Fixing weak Wi-Fi, delayed alerts, and motion detection problems
If alerts are slow, check the router, signal strength, and app notification settings. A weak network is often the real cause, not the doorbell itself.
If motion detection is inconsistent, adjust the zones and sensitivity. Then test again at the times of day when you usually get visitors.
Correcting poor video angles, glare, night vision issues, and audio feedback
Bad angles usually come from mounting too high, too low, or too flat. A wedge mount can solve that without moving the whole device.
Glare from direct sun or porch lights can wash out the image. Night vision and audio feedback can also improve if you move the unit away from reflective surfaces and noisy speakers.
Seasonal maintenance: cleaning the lens, checking seals, and recharging the battery
Wipe the lens with a soft cloth when dust or pollen builds up. Check seals and mounting screws after strong weather or temperature swings.
Set a reminder to recharge the battery on a regular schedule. That helps you avoid a dead doorbell during a busy week.
When installation limits mean you may need a different mount or another model
Sometimes the entryway itself is the problem. Narrow frames, steep stairs, or unusual siding can make one model hard to place well.
In that case, a different mount or a different doorbell may fit better. If you are comparing models, our guide to Eufy E340 vs Ring Doorbell can help you think through installation style, power, and storage needs.
Final Takeaway
Ring battery doorbell installation is usually beginner-friendly when you check surface fit, Wi-Fi strength, placement, and account security first. The safest next step is to follow the exact manual for your model, then test alerts and privacy settings before you depend on it daily.
Many homeowners and renters can install one themselves if the surface, Wi-Fi, and app setup are straightforward. If wiring, drilling, or mounting conditions are uncertain, check the manual or use a qualified installer.
Many battery doorbells use 2.4 GHz Wi-Fi, which often reaches farther than 5 GHz. Check the exact model requirements and test signal strength at the front door before mounting.
Mounting height should help the camera see faces and the doorstep clearly. Follow the model’s manual, then adjust with a wedge or corner mount if the porch layout blocks the view.
Some features may work without a plan, but cloud recording and longer retention often depend on a subscription. Check the current plan details for your exact model before you rely on any feature.
Use a unique password, enable MFA if available, and review shared users and permissions. Also keep the app, device firmware, and router software updated.
Start by checking Wi-Fi strength, notification settings, and motion zones. If the problem continues, adjust placement or use a different mount to improve the camera’s view and signal quality.
Hi, I'm Marcus Sterling, a smart home security expert with over 5 years
of hands-on experience testing and reviewing hundreds of security cameras, smart locks, and alarm systems. My mission is to make smart home security accessible, affordable, and easy to understand—and every review I publish is 100% independent, unbiased, and honest. I don't accept payments for positive reviews, just practical advice to help you secure your home with confidence.
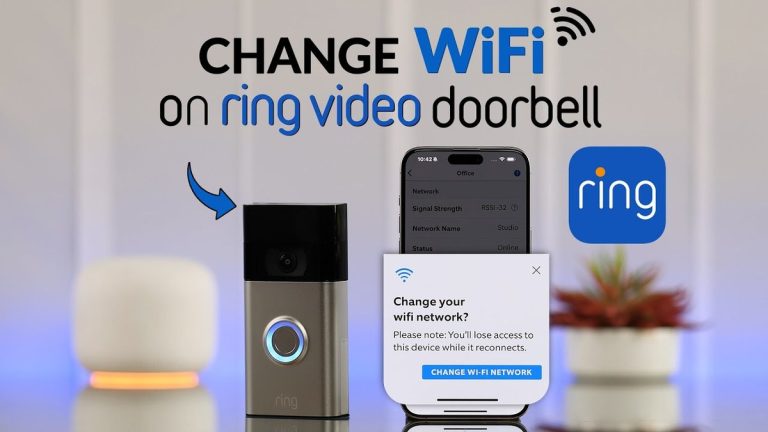
Quick Security Answer Use the Ring app to reconnect the doorbell to the new Wi-Fi network, then test live view, motion alerts, and audio. If setup fails, check power, signal strength, and account access first. Ring video doorbell change wifi is usually a quick app-based update, not a full reinstall. In most homes, you reconnect…
Quick Security Answer Ring cloud storage is the feature that saves doorbell events online so you can review them later. It is most useful if you want clip history, sharing, and remote access, but it usually adds an ongoing plan cost. Ring video doorbell cloud storage is the part of Ring that saves motion clips…
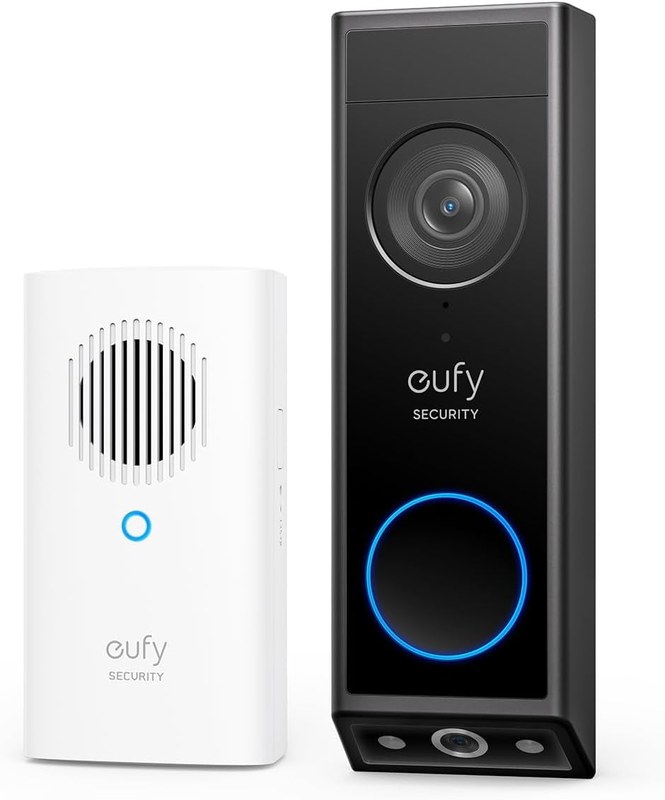
Quick Security Answer The add-on chime is useful when you want louder, room-based alerts beyond the phone app. It works best when your exact Eufy model, Wi-Fi setup, and placement all match the manual. The eufy security video doorbell add-on chime is a simple way to hear doorbell alerts inside your home. It does not…
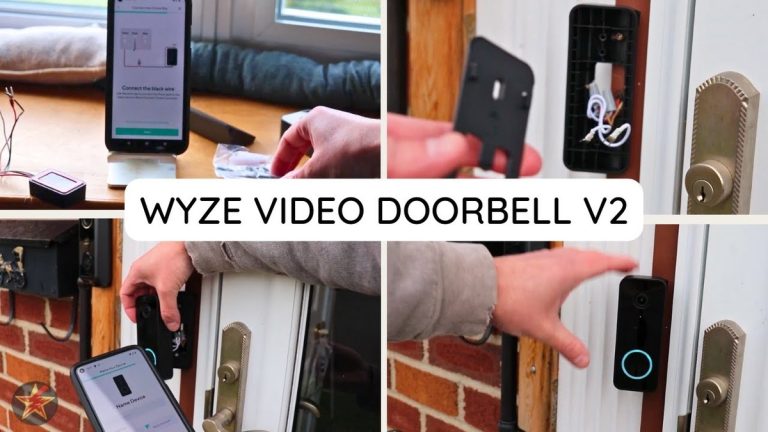
Quick Security Answer If your home already has compatible wiring and solid 2.4 GHz Wi-Fi, setup is usually manageable for a beginner. The main checks are power, chime compatibility, placement, and account security. Wyze video doorbell v2 installation is usually straightforward for homes that already have doorbell wiring and a stable 2.4 GHz Wi-Fi signal….
Quick Security Answer A Ring battery doorbell is a practical choice if you want front-door alerts without existing wiring. The best results come from careful placement, solid Wi‑Fi, and the right privacy and storage settings. The ring battery doorbell guide below explains what to expect before you buy, mount, or set up a battery-powered video…
Quick Security Answer Yes, a Blink video doorbell can be used without a subscription for basic live viewing, motion alerts, and two-way talk. The main tradeoff is reduced video history and fewer convenience features, so storage and placement matter more. The blink video doorbell without subscription question has a simple answer. You can use core…



3 Comments