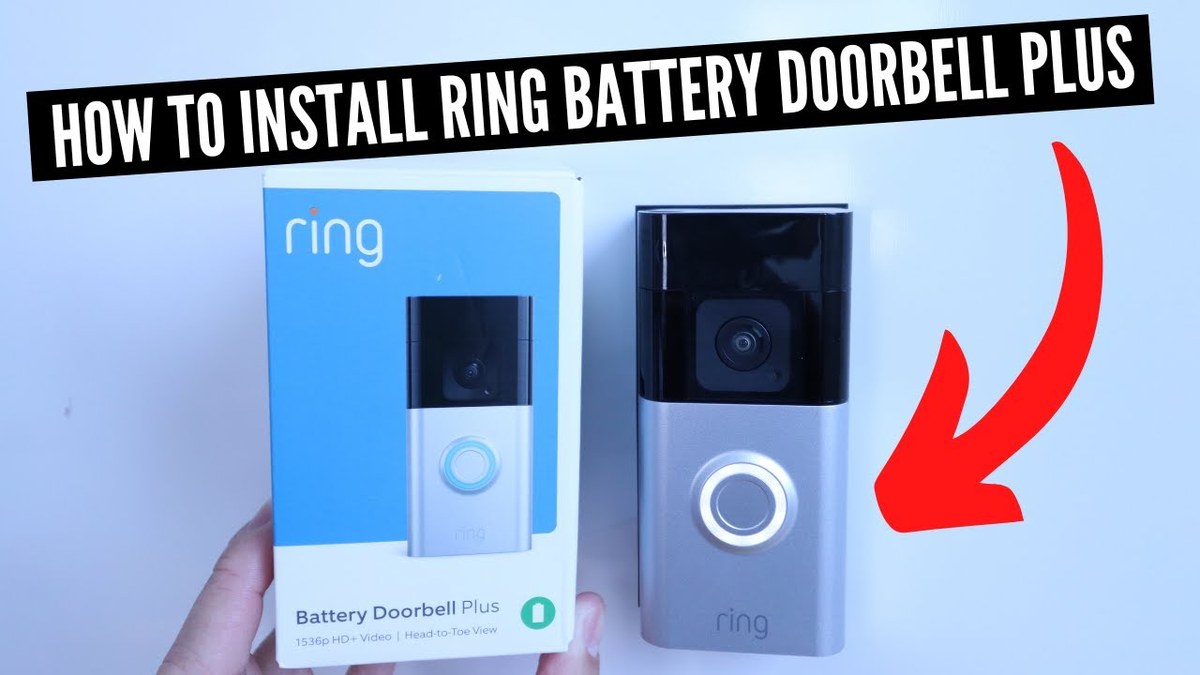
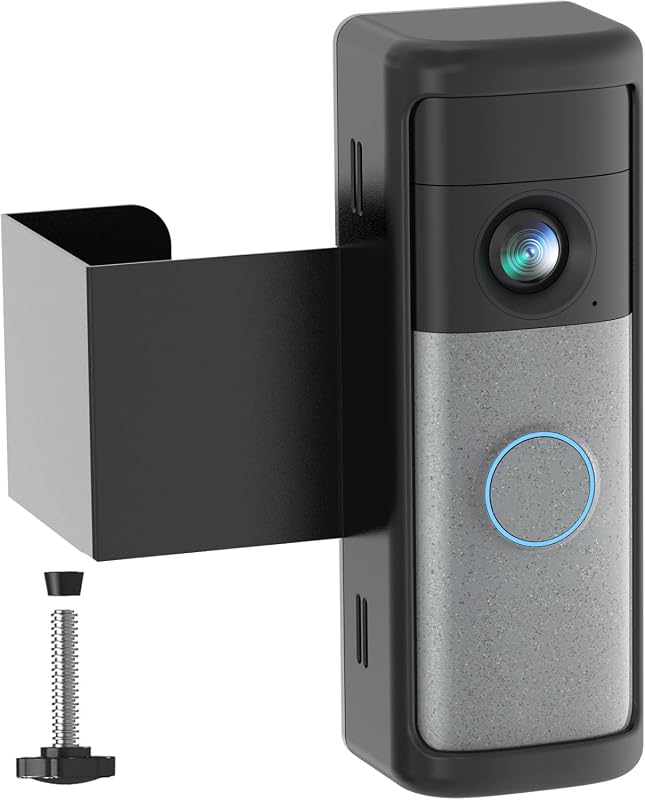
Install the doorbell by charging the battery, choosing a clear and private mounting spot, securing the bracket, and finishing setup in the Ring app. The most important checks are Wi-Fi strength, permission to drill, and any model-specific wiring or chime requirements.
Learning how to install ring battery doorbell is mostly about safe placement, a solid mount, and app setup. If you plan the location first, the rest is usually simple for many US homes and rentals.
How to Install a Ring Battery Doorbell: The Fast Answer
The short version is simple. Charge the battery, pick a spot with a clear view, mount the bracket, attach the doorbell, then connect it in the Ring app.
Check Wi-Fi strength, permission to drill, and whether your model needs optional wiring support.
If you want a broader setup overview for another Ring model, see our guide on Ring indoor camera setup for a similar app and network process. The same basic habits help with most smart security devices.
Before You Start: What You Need, What to Check, and Who Should Get Permission
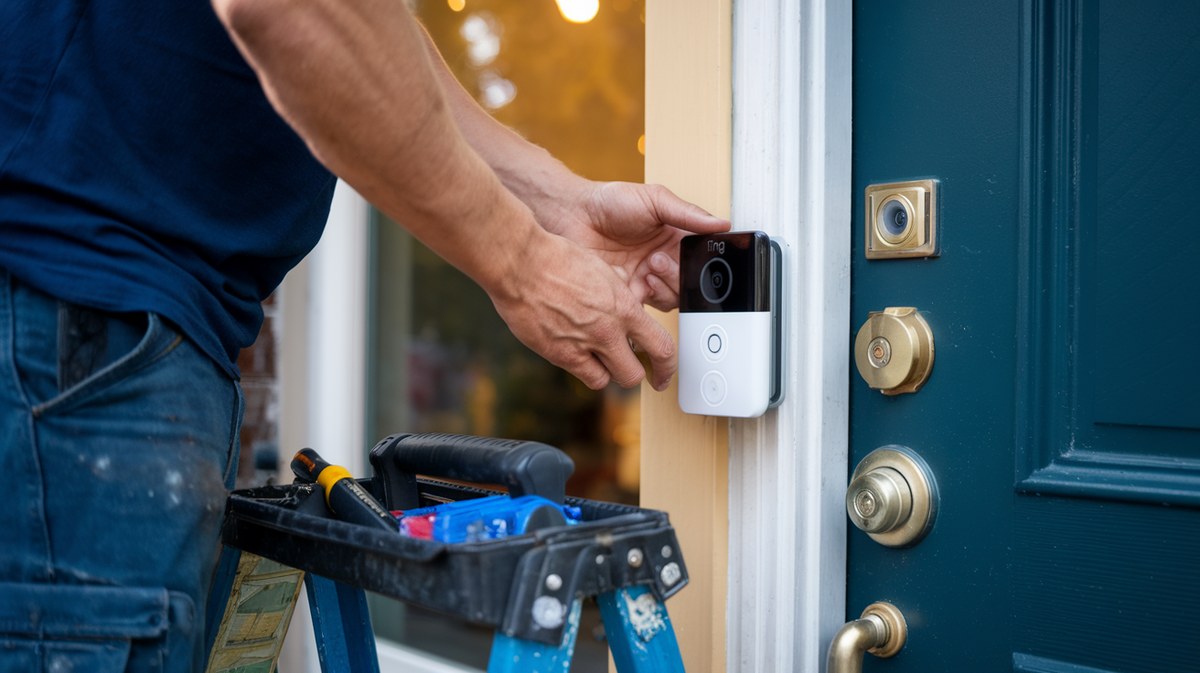
Checklist of tools, Wi-Fi, battery, and permission before installing a Ring doorbell
Start with the basics before you drill anything. You need the right tools, a charged battery, a stable Wi-Fi signal, and permission if you rent, live in a condo, or follow HOA rules.
Tools, hardware, and app setup checklist
Most installs use a drill, screwdriver, level, screws, anchors, and the included mounting bracket. You will also need the Ring app, a Ring account, and enough time to finish setup before final testing.
Keep the packaging and small parts nearby. Some models include a wedge or corner kit. It can help if the wall angle is not ideal.
Renter vs. homeowner considerations
Homeowners usually have more freedom to drill and reposition the device. Renters should check the lease first and ask for written permission when needed.
In apartments, shared hallways and common areas can raise privacy concerns. A doorbell camera should focus on your entry area, not on spaces you do not control.
Existing doorbell wiring, chimes, and compatibility limits
Battery models do not always need existing wiring, but wiring can still matter. Some setups use optional power support. Others rely on the battery alone.
If you are comparing wiring-heavy options, our article on how to wire a Eufy Video Doorbell E340 shows how much more complex a wired path can be. That contrast helps explain why battery models are often easier for renters.
Choose the Best Mounting Location for Coverage, Motion Detection, and Privacy
The best mounting spot gives you a clear face view, good motion detection, and less privacy risk. A poor location can cause missed alerts, false motion, or a view that points too far into the street.
Height, angle, and field of view basics
Doorbells are usually placed near the side of the door at a height that captures a visitor’s face and package area. The exact height depends on the model and porch layout, so check the manual for the recommended range.
Angle matters as much as height. If the camera points too steeply, it may miss faces or show only the top of a head.
Porch layout, steps, siding, and door swing clearance
Look at the whole entry path before you mount anything. Steps, railings, trim, and the door swing can block the view or make the button hard to reach.
Make sure the door can open fully without hitting the device. Also check that rain runoff, direct sun, or a tight corner will not create glare or weather stress.
Neighbor privacy, public areas, and camera placement
A smart doorbell can record audio and video, so placement should respect neighbors and public space. Aim the lens toward your entry area and avoid pointing deep into a neighbor’s window, yard, or shared hallway.
Install the Ring Battery Doorbell Mount and Secure the Device<
The mount is attached before the battery doorbell is secured in place.
/h2>
Once you have the location, install the bracket carefully and keep it level. This part is usually quick, but a crooked mount can affect motion detection and the final camera angle.
Mark, drill, and fasten the mounting bracket
Hold the bracket where you want the doorbell and mark the screw holes. Use a level if the surface is uneven, then drill pilot holes if the surface needs them.
Insert anchors when mounting into drywall, brick, or another material that needs support. Then fasten the bracket firmly, but do not overtighten and strip the holes.
Attach the doorbell and confirm it is level
Snap or slide the doorbell body onto the bracket according to the manual. After it is attached, check the view in the app if setup allows live preview before final tightening.
A level device looks better and helps keep the motion field consistent. It also makes later troubleshooting easier because you know the camera started from the right angle.
Use wedges or corner kits when the doorframe needs adjustment
Use a wedge or corner kit if the camera needs to see more of the walkway or less of the wall. These accessories are helpful when a door sits close to a corner, post, or angled trim.
If you need a different mounting style for a battery-powered setup, our comparison on Eufy E340 vs Ring doorbell can help you think through placement and power tradeoffs. Different models handle angles and power in different ways.
Power It Up: Charging the Battery, Battery Life, and Optional Wiring
Battery setup is simple, but power planning still matters. Charge the battery fully first, then think about how your motion settings and traffic patterns will affect runtime.
Initial charge and battery handling
Charge the battery before or during installation, depending on the manual. A full first charge helps avoid setup interruptions and reduces the chance of a low-battery warning right away.
Handle the battery with dry hands and keep the contacts clean. If the battery is removable, store the spare in a cool, dry place.
How weather, motion settings, and usage affect battery life
Battery life changes with traffic, temperature, Wi-Fi strength, and alert settings. More motion events, more live view use, and weaker signal can all shorten runtime.
Cold weather can also reduce battery performance. If your doorbell sits in direct sun or harsh weather, check it more often during seasonal changes.
When wired power can help, and when it is not necessary
Some battery doorbells can connect to existing low-voltage wiring for trickle charging or power support. That can reduce how often you need to recharge, but it depends on the exact model and the wiring at your home.
If the wiring is old, unknown, or shared with a chime you do not understand, stop and check the manual. A battery-only setup is often the safer choice when compatibility is unclear.
Connect to Wi-Fi, the Ring App, and Shared Users
After the hardware is mounted, the app setup turns the doorbell into a usable device. This is where Wi-Fi strength, account security, and shared access matter most.
2.4 GHz Wi-Fi requirements and signal strength checks
Many battery doorbells use 2.4 GHz Wi-Fi because it reaches farther than 5 GHz. That band is often better for front doors, garages, and entryways that sit far from the router.
If the app has trouble finding the doorbell, move closer to the router or test the signal at the door. Mesh Wi-Fi can help, but only if the node near the entry has a strong backhaul link.
Account setup, device naming, and notification preferences
Create or sign into your Ring account, then add the device in the app. Give it a clear name, such as Front Door or Back Entry, so alerts are easy to understand.
Set notification preferences for motion, rings, and live view. If your household is busy, start with fewer alerts and adjust later.
Shared access, app permissions, and account recovery basics
Shared users can be helpful for families, caregivers, or roommates. Give access only to people who need it, and review permissions if someone moves out or no longer needs access.
Also set up account recovery before you forget. If you lose access later, recovery steps are much easier when your email and phone number are current.
Configure Video, Alerts, Storage, and Privacy Settings
Good setup does not end with the install. Video quality, motion zones, storage choices, and privacy settings shape how useful the doorbell is every day.
Motion zones, privacy zones, and snapshot controls
Motion zones help the camera focus on the space that matters most. Privacy zones block parts of the image, which can reduce recording of nearby windows or shared areas.
Snapshot or still-image controls can also affect privacy and battery use. If the model offers them, review those settings carefully before turning everything on.
Night vision, two-way audio, and alert sensitivity
Night vision helps after dark, but it can still struggle with glare or bright porch lights. Test the view at night and adjust the porch lighting if needed.
Two-way audio is useful for speaking with visitors, delivery drivers, or family members. Keep alert sensitivity at a level that catches real motion without flooding your phone.
Subscription, cloud storage, and local ownership-cost tradeoffs
Battery doorbells often work without a subscription for basic live view or alerts, but recording and history may depend on a plan. Always verify the current plan details for the exact model you own.
Local Storage
Lets you keep video on hardware you control.
May reduce recurring fees.
Can still be lost if the device is stolen or damaged.
Cloud Storage
Stores clips through the vendor account and internet connection.
Usually depends on an active plan.
Access and retention are controlled by the provider.
If you are comparing ownership costs across brands, a plan-focused article like downsides of Ring cameras can help you think about recurring fees and limits. The same idea matters for any cloud-based doorbell.
Troubleshooting Common Installation and Performance Problems
If something does not work, start with safe checks first. Most problems come from Wi-Fi, battery charge, placement, or app settings, not a failed device.
Wi-Fi dropouts, delayed alerts, and live view failures
If alerts arrive late, check signal strength at the front door. Move the router, add a mesh node, or reduce distance if the signal is weak.
Live view failures can also come from weak upload speed or busy home networks. Pause large downloads and test again before assuming the doorbell is broken.
Battery drain, false motion alerts, and poor camera angles
Fast battery drain often comes from frequent motion, repeated live view use, or cold weather. Reduce sensitivity or narrow the motion zone if the street keeps triggering alerts.
If the camera view is poor, revisit the mounting angle and height. A small reposition can fix more than any app setting.
Firmware updates, reset steps, and support lifecycle considerations
Keep firmware and the app updated so you get the latest fixes and security patches. If the doorbell acts oddly, follow the reset steps in the manual before replacing hardware.
If support has changed or the model is older, check the current support lifecycle before you invest more time. A device that is still working may not receive the same level of help forever.
Maintain the Doorbell for Security, Longevity, and Better Results
Simple maintenance keeps the doorbell useful. Clean the lens, check the battery, review settings, and make sure the app still works for everyone who needs it.
Cleaning, recharging, and seasonal weather checks
Wipe the lens gently with a soft cloth. Dirt, pollen, spider webs, and rain spots can blur the image more than people expect.
Recharge the battery before it gets too low, and check the mount after storms or freeze-thaw cycles. Seasonal changes can loosen hardware or affect battery performance.
Cybersecurity best practices: MFA, passwords, and app hygiene
Use a strong, unique password and turn on multi-factor authentication if the account supports it. Remove old users and review connected apps from time to time.
Keep your phone updated too. A secure doorbell is only part of a secure account.
When to reposition, replace accessories, or review subscription needs
Reposition the device if it misses faces, catches too much street traffic, or records the wrong area. Replace wedges, anchors, or mounting parts if the fit is loose.
Review the subscription only after you know which features you actually use. Some households need cloud history, while others only need live alerts and basic access.
Final Takeaway
For most US homes and rentals, the safest way to install a Ring battery doorbell is to charge it first, mount it at a clear entry angle, and finish setup in the app with strong Wi-Fi and secure account settings. The main limitation is that wiring, placement, and storage features vary by exact model, so always verify the manual before you drill or connect power.
Yes, many battery models can work without existing doorbell wiring. Some models can also use wiring for power support, but that depends on the exact product.
Check your lease, HOA rules, siding material, and the door swing. Make sure the chosen spot gives a clear view without blocking the entry.
Weak signal, router distance, or band mismatch are common causes. Try the installation closer to the router first, then move it back after setup if needed.
Battery life varies by motion activity, weather, video use, and signal strength. More alerts and colder temperatures usually shorten runtime.
That depends on the exact model and current plan terms. Basic alerts may work without a plan, while video history often depends on cloud features.
Use privacy zones, motion zones, and limited shared access. Review audio settings and account permissions so only the right people can view the camera.
Hi, I'm Marcus Sterling, a smart home security expert with over 5 years
of hands-on experience testing and reviewing hundreds of security cameras, smart locks, and alarm systems. My mission is to make smart home security accessible, affordable, and easy to understand—and every review I publish is 100% independent, unbiased, and honest. I don't accept payments for positive reviews, just practical advice to help you secure your home with confidence.
The eufy Video Doorbell E340 uses a removable rechargeable battery, so you can charge it indoors without removing the entire doorbell. Its advertised runtime reaches up to six months, but motion activity, video settings, temperature, and camera use can shorten that time. Under normal use, you can expect roughly six to eight weeks between charges,…
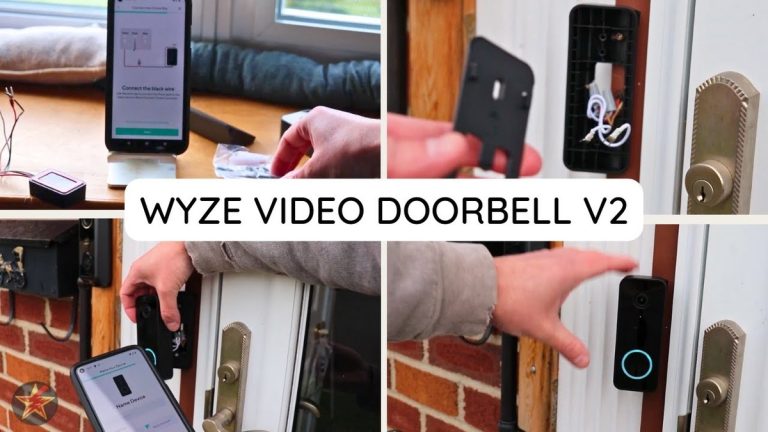
Quick Security Answer If your home already has compatible wiring and solid 2.4 GHz Wi-Fi, setup is usually manageable for a beginner. The main checks are power, chime compatibility, placement, and account security. Wyze video doorbell v2 installation is usually straightforward for homes that already have doorbell wiring and a stable 2.4 GHz Wi-Fi signal….
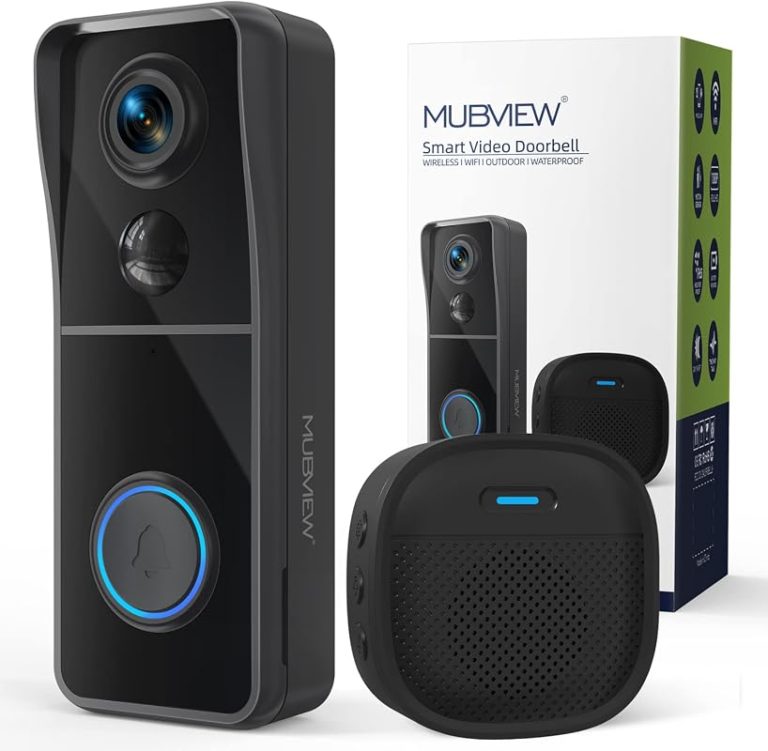
Compare wireless video doorbell with chime for home coverage, privacy, power, storage, subscriptions, and value. Read the guide before choosing a system.
Compare ring battery doorbell no drill mount for home coverage, privacy, power, storage, subscriptions, and value. Read the guide before choosing a system.
Quick Security Answer A Ring battery doorbell is usually a practical DIY install for many homes and rentals. The key is to check Wi-Fi strength, mounting rules, and privacy settings before drilling. installing ring battery doorbell is usually a straightforward DIY task for many US homes and rentals. The best result depends on placement, Wi-Fi,…
View on Amazon Quick Security Answer Cellular backup keeps your alarm connected to a mobile network when Wi-Fi or a landline fails. It works with professional monitoring or self-monitoring, but it requires a data plan and a panel with a good cellular signal. Smart Home Security Guide Understanding what is cellular backup in home alarm…