How Many Motion Sensors Do I Need for a House Answered
A typical US home works well with three to five motion sensors, plus one per extra exterior door and one on the main traffic path. Adjust the count for open or compartmentalized layouts, pets, and professional monitoring choices.
Wondering how many motion sensors do i need for a house? Start with a simple formula: three to five sensors, plus one more for each exterior door beyond the first two. That base covers the main entry path and adds a second detection layer inside the home. This guide explains the counting rules, where to place sensors, and what they can and cannot do.
The Short Answer: Start With 3 to 5 Sensors, Then Add One Per Entry Point
Start with three to five sensors for an average US house. Then add one sensor for each exterior door beyond the first two. This gives you one sensor on the main entry path and another layer of detection inside. Your final count changes with floor plan, pets, and monitoring choices.
The Entry-Point Rule: One Sensor per Exterior Door
Most intruders enter through a door. A sensor that faces an exterior door catches movement right after someone steps inside. Most US homes have two or three exterior doors, so the base count covers two of them. Add one more for a side door, patio door, or basement door that gets regular use.
Sliding glass doors count as entry points too. A contact sensor on the door track tells you when the door opens. A motion sensor behind the glass catches early movement. That is one example of how door and window sensors work beside motion detection.
The Traffic-Path Rule: One Sensor per Main Hallway or Common Area
The entry door is only the start. Intruders usually move through a hallway or living room to reach bedrooms and valuables. Place one sensor on the main path between the entry and the rest of the home.
In an open floor plan, that may be one great room. In a traditional plan, it may be the central hallway. This second layer gives you more warning time than a sensor on the door alone.
When 5+ Sensors Actually Makes Sense
A larger home, a detached garage, or a finished basement can justify more than five sensors. Add a sensor only when it covers a real entry point or a valuable space.
- A two-story house with four entry points.
- A detached workshop with tools.
- A basement with its own exterior door.
Do not add sensors just to reach a higher number. Each extra sensor brings another battery to change and another possible false alarm.
How Your Home’s Layout and Square Footage Change the Count
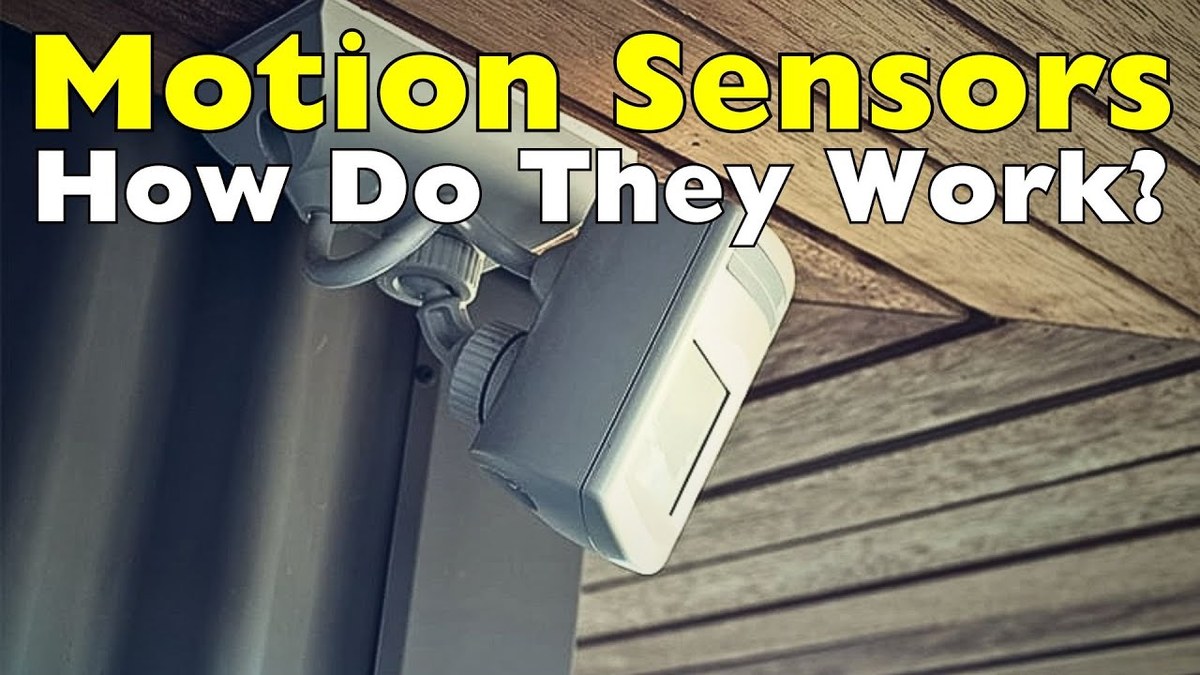
Square footage matters less than the number of walking paths an intruder can take. An open 2,000-square-foot ranch may need fewer sensors than a narrow 1,200-square-foot split-level.
Open-Concept vs. Compartmentalized Floor Plans
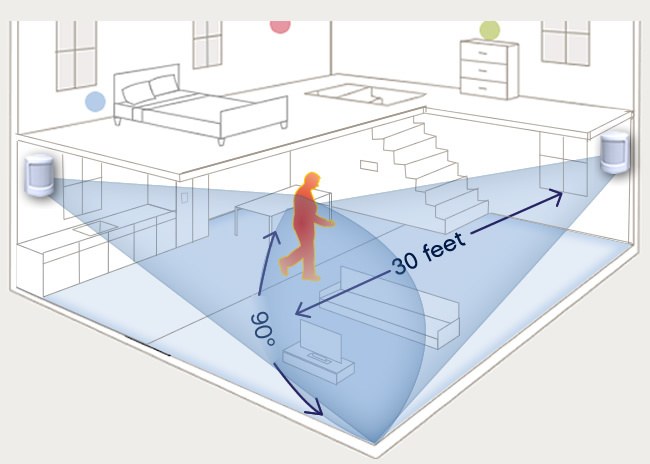
In an open-concept home, one sensor in the main room often covers the entry, the living area, and part of the kitchen. Walls do not block the detection zone.
In a compartmentalized floor plan, walls and corners split the path. One sensor cannot see into each room. You may need a sensor in the central hallway and another in the main sitting room.
Use a simple test: stand where you plan to mount the sensor and look toward the entry path. If you cannot see the route, the sensor will probably miss part of it.
Multi-Story Homes: Stairwells, Landings, and Upper-Level Entry Points
Each floor needs its own coverage plan. The ground floor usually has the most doors and windows, so it takes the most sensors.
An upper landing or the top of the stairs is a good spot for one sensor. It catches movement before someone reaches the bedrooms. If an upper floor has a balcony door or an accessible roof window, add a sensor there too.
Basements, Garages, and Rarely Used Spaces: Include or Skip?
Add a basement sensor when the basement has an exterior door, a reachable window, or expensive stored items. A detached garage also deserves coverage when it holds tools, bikes, or a car.
A motion sensor inside the garage works, but a contact sensor on the garage entry door may be more useful. Skip rooms with no entry point and no valuables. A sensor in a rarely used guest room only adds false alarms.
Where to Place Each Sensor (and Where to Skip)
Placement matters more than the total count. The best spot sits on the main line of travel after an entry point, at the height and angle the manual describes. Choose the spot after you map the entry path.
Entry Doors, Ground-Floor Windows, and Sliding Glass Doors
Mount indoor sensors near exterior doors and point them at the door. That gives a clear view of the doorway and the path inside. Ground-floor windows matter too. Place a sensor in the room and aim it toward the window and the walking path.
For sliding glass doors, use both a motion sensor inside the room and a contact sensor on the track. The motion sensor catches early movement; the contact sensor confirms the door opened.
Hallways, Stairwells, and Shared Living Areas
Hallways funnel movement into one narrow path. One sensor at the end of a long hallway often covers the whole corridor. Stairwells also work well.
A sensor at the foot or top of the main stairs protects the busiest route between floors. In shared living areas, point the sensor away from bright windows, heating vents, and ceiling fans.
Bedrooms, Bathrooms, and Pet-Only Zones: When to Leave Them Out
Most households skip sensors in bedrooms and bathrooms to avoid false alarms at night. If you want one in a bedroom, aim it away from the bed and closet.
Pet-only zones need extra thought. Large dogs can trigger a standard sensor. Look for a pet-immune motion sensor, or place sensors away from pet paths and pet furniture.
Renter or Homeowner: Mounting and Permission Constraints
Renters must respect lease rules and security deposits. Homeowners usually have more freedom to drill, wire, and choose a permanent spot. This section covers damage-free options and lease approval.
Damage-Free Mounting Options for Renters
Adhesive strips and no-drill brackets hold many indoor motion sensors. Check the strip’s weight rating and the sensor’s manual before mounting. A shelf, buffet table, or TV stand also works when wall mounting is not allowed.
The sensor just needs a clear view of the traffic path. Drilling without permission can leave marks and reduce your deposit.
Lease Terms, Security Deposits, and Landlord Approval
Read the lease before you buy mounting hardware. Many leases allow battery devices but forbid holes in walls. Ask for written permission when you need to screw into drywall.
Offer to fill holes before move-out. This keeps the situation calm and clear.
Power, Wi-Fi, and Hub Compatibility
Motion sensors run on batteries, USB power, or low-voltage wiring. Your sensor count matters less than the power and network setup behind it. Plan the power and Wi-Fi before you mount anything.
Battery-Powered vs. Wired Motion Sensors
Battery sensors install in minutes and work in most homes. Battery life depends on the model, so check the manual. Wired sensors connect to a power source or alarm panel. They take more careful installation, and some need a professional.
Wi-Fi Bands, Hub Requirements, and Local vs. Cloud Processing
A Wi-Fi sensor needs a clear signal from the router. Many use the 2.4 GHz band because it travels farther. Some sensors use Z-Wave, Zigbee, Thread, or Matter. Those need a hub that speaks the same protocol.
Pick one ecosystem or verify compatibility before mixing brands. Ask what happens during an internet outage. Some sensors keep detecting locally while phone alerts wait for a connection. The do alarm sensors need WiFi guide explains this difference.
Cloud Retention, Subscription Tiers, and Vendor Support Lifecycle
Cloud plans vary by vendor and model. Some sensors work without a subscription and keep clips local. Others require a paid plan for video, person alerts, or longer retention.
Check the current plan page for your exact model. Look for the retention period, the number of supported devices, and the price in US dollars. Also check how long the vendor supports the device.
Self-Monitoring vs. Professional Monitoring
Self-monitoring sends alerts to your phone. Professional monitoring can send eligible alarms to a monitoring center. Your choice affects the sensor count because a monitored system may need more boundary coverage.
What Professional Monitoring Adds: Cellular Backup and Dispatch
Professional plans often include cellular backup. If home internet fails, the system can still reach the monitoring center. A monitoring center does not answer every trigger.
Dispatch depends on the plan, the sensor type, and the event. Self-monitoring is cheaper and gives you full control, but it relies on your attention and your internet connection.
- Household receives alerts and decides what to do.
- Usually lower ongoing cost.
- Does not guarantee emergency dispatch.
- Monitoring center reviews eligible alarms.
- Dispatch availability depends on plan and event.
- Fees, contracts, permits, and false-alarm rules may apply.
Permits, False Alarm Fees, and Contract Terms
Some US cities and counties require an alarm permit. Check local rules before you sign up for a monitored system. Repeated false alarms can bring fines.
Monitoring contracts vary. Read the term length and cancellation policy before signing.
Privacy and Cybersecurity When Adding Motion Sensors
Motion sensors connect to your network and your account. Secure the account, update the software, and limit who can see alerts. This section covers the account steps that belong in any smart security setup.
Privacy Zones, Neighbor Awareness, and Indoor Camera Placement
Sensors with cameras should face away from public sidewalks and neighbor windows. Many apps let you set privacy zones to block part of the image. Audio recording rules vary by US state.
Check local law before using a microphone in a shared room or near a public path. Tell everyone in the home where the sensors point. A sensor aimed at a bedroom door can feel invasive even without a camera.
MFA, Firmware Updates, Shared Users, and Account Recovery
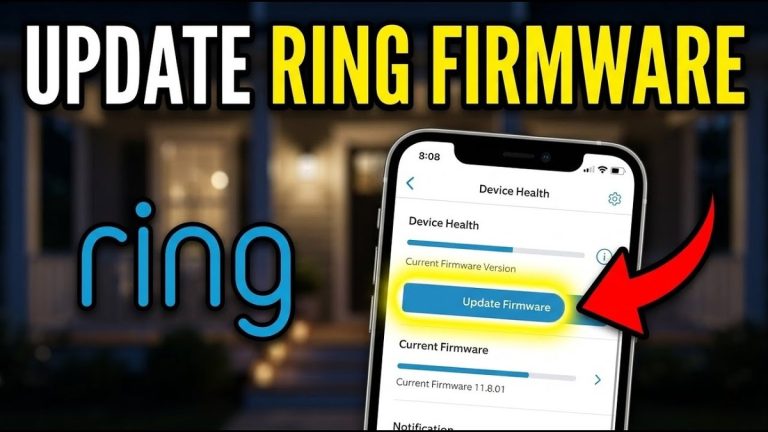
Create a unique password for the device or its app. Enable multi-factor authentication (MFA) on the main account. Update the sensor, hub, router, and app software.
Review the shared users list and remove anyone who no longer needs access. Set up account recovery with a current email or phone. That way you can regain access after a phone change.
Installation, Maintenance, and False Alarm Troubleshooting
Most avoidable alerts come from mounting height, angle, and a dirty lens. Install the sensor carefully, then test it before arming the system.
Mounting Height, Angle, and Coverage Zones
Follow the mounting height in the exact manual. Many sensors work best about 6 to 8 feet from the floor. Aim the sensor slightly downward so it sees the walking path, not the ceiling.
Avoid spots above heating vents, near bright windows, or facing ceiling fans. Walk across the room at different speeds to test the coverage zone before mounting permanently.
Pet Immunity and Reducing False Triggers
Pet-immune sensors ignore motion below a size or weight threshold. That helps, but it is not perfect. A dog on a sofa or a set of stairs can rise into the detection zone.
Keep pets out of covered rooms when possible and aim the sensor away from pet furniture. To fix common alerts, learn the main motion sensor false alarm causes and adjust placement.
Battery Life, Sensor Health Checks, and Cleaning
Watch low-battery alerts in the app and replace batteries with the type the manual lists. Wipe the lens with a dry microfiber cloth every few months. Do not spray cleaner directly on the sensor.
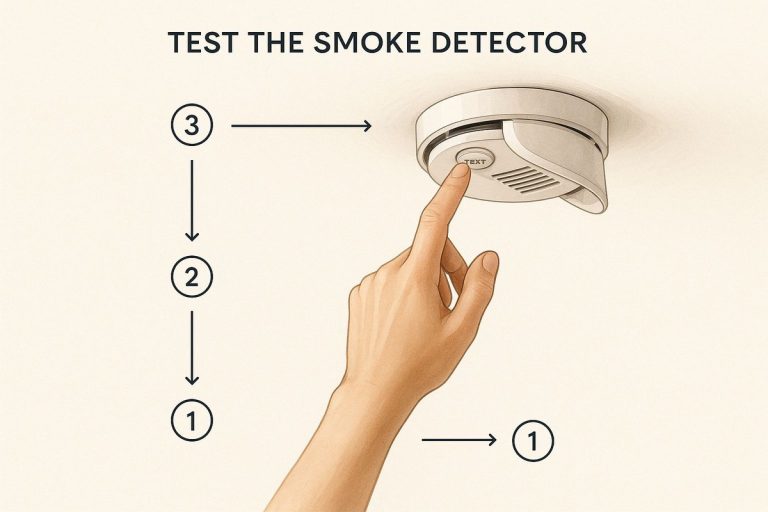
Run a test after each battery change and after any network change.
What Motion Sensors Can’t Do (and What to Add Next)
A motion sensor detects movement. It cannot see through walls, hear breaking glass, or always tell a person from a pet. Knowing these limits helps you add the right second layer.
Detection Limitations: Glass Break, Slow Movement, and Heat Signatures
Standard PIR sensors notice a change in heat when a body crosses the coverage zone. Slow, careful movement may not trigger them. A motion sensor also cannot tell you when a window breaks.
Glass break sensors listen for the sound of shattering glass. Even window sensors are limited. The guide on do window sensors detect broken glass explains what contact sensors do and do not notice.
Pairing Sensors With Cameras, Contact Sensors, and Smart Locks
Motion sensors give the first warning. Cameras record what happened. Door and window sensors confirm that a door or window opened. Smart locks keep the entry secured.
A common setup uses a motion sensor to trigger a camera clip. That combination gives you an event, a timestamp, and a recording. Use sensors as one layer, not the whole system.
A door sensor, a glass break sensor, and a tested alarm routine close the gaps a single sensor leaves.
Start with three to five sensors, add one per extra exterior door, and place one on the main traffic path. Adjust for layout, pets, and monitoring choices. Mount each sensor at the manual’s height, secure the account, and test every device. Then pair motion detection with door, window, and glass break sensors for a complete shield.
Frequently Asked Questions
Start with three to five sensors, then add one for each extra exterior door. That base covers the main entry points and one common area in most US homes.
Most households skip bedroom sensors to avoid false alarms at night. If you want one, aim it away from the bed and closet.
Many local sensors continue detecting motion, but phone alerts and cloud features may stop until the internet returns. Check the manual and any cellular backup option.
Yes, active pets above the pet-immunity threshold can trigger sensors. Choose a pet-immune model and aim the sensor away from pet paths and furniture.
That depends on the protocol. Wi-Fi sensors usually work without a hub. Z-Wave, Zigbee, Thread, and Matter sensors need a compatible hub or bridge.
Test monthly and after battery changes. Walk across the detection zone to confirm the sensor sees you and sends an alert.