Where Should You Not Put Indoor Security Cameras 7 Places
Keep indoor cameras out of bedrooms, bathrooms, and areas with heat or weak Wi-Fi. Point them at entry points and shared living spaces instead, and test the view before you mount.
Knowing where should you not put indoor security cameras is just as important as knowing where to install them. A camera in the wrong spot can invade privacy, trigger false alerts, and miss real events. This guide covers the seven worst indoor camera placements and how to choose a better location.
The Short Answer: Avoid Private Rooms, Heat Sources, and Signal Dead Zones
Indoor cameras work best in shared living spaces. Avoid bedrooms, bathrooms, and areas where guests expect privacy. Also avoid heat sources, reflective surfaces, and weak Wi-Fi spots.
Three placement rules that cover most indoor camera mistakes
Follow three simple rules for most indoor camera placements. First, point the camera at entry points and main living areas. Second, keep it out of private rooms and away from windows. Third, place it where the Wi-Fi signal is strong and the view is clear.
These rules reduce false alerts, protect privacy, and improve video quality. For more placement guidance, browse our security cameras guides.
How to test a location before you commit to mounting
Do not drill holes right away. Set the camera on a shelf or table first. Check the live view on your phone. Walk through the room and see what the camera captures.
Test the camera at night too. Watch for glare, blocked views, and weak signals. A 10-minute test can save you from a bad permanent mount.
1. Bedrooms and Bathrooms – The Privacy Non-Negotiables
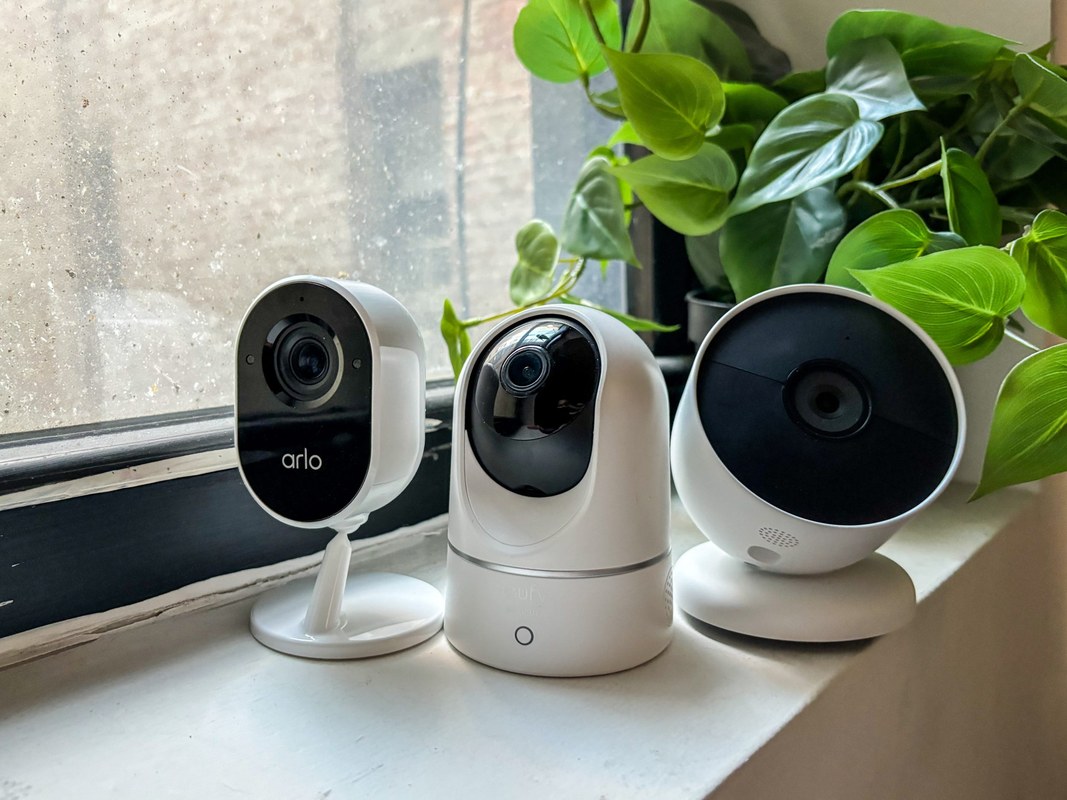
Do not put indoor cameras in bedrooms or bathrooms. These are private spaces where people expect no recording. Hidden cameras in these rooms can break trust and may violate state laws.
Consent laws, shared homes, and rental agreements
US states have different recording laws. Some states require consent from everyone recorded. Others allow recording in public areas but not private ones. A camera in a bathroom or bedroom is risky in almost every state.
Shared homes create extra risk. Roommates, family members, and guests may not know the camera exists. Even a visible camera can make people uncomfortable. In a rental, your lease may also restrict where cameras can go.
What to consider before placing a camera in a child’s room or for a nanny
A nursery camera can help parents check on a baby. But it creates privacy questions as the child grows. Older children may want privacy in their own room. Talk to your family about who can view the feed and when.
Nanny cameras are legal in many states, but rules vary. Some states require the nanny to be told about the camera. Audio recording often has stricter rules than video. Check your state law before you set up a nanny camera.
2. Facing Out a Window or Into a Neighbor’s Unit
Do not point an indoor camera out a window. The glass creates glare and reflection. At night, the infrared light bounces off the glass and washes out the image. You end up with blurry video and false alerts.
Glass reflection and infrared glare at night
Indoor cameras use infrared LEDs for night vision. When the camera sits behind glass, the infrared light reflects back into the lens. The result is a bright white circle instead of a clear image.
Window reflections also cause false motion alerts. Passing cars, moving clouds, and changing light can trigger the sensor. You get notifications for events that never happened.
Neighbor privacy and local recording rules
Pointing a camera at a neighbor’s unit raises legal concerns. You may capture their windows, doors, and daily routines. Some local laws restrict where cameras can point. Even where it is legal, it damages neighbor relations.
If you want to see outside, use an outdoor camera made for that job. Outdoor cameras handle weather and glass better. They also aim at your own property, not your neighbor’s.
3. Directly Above the Stove or Sink
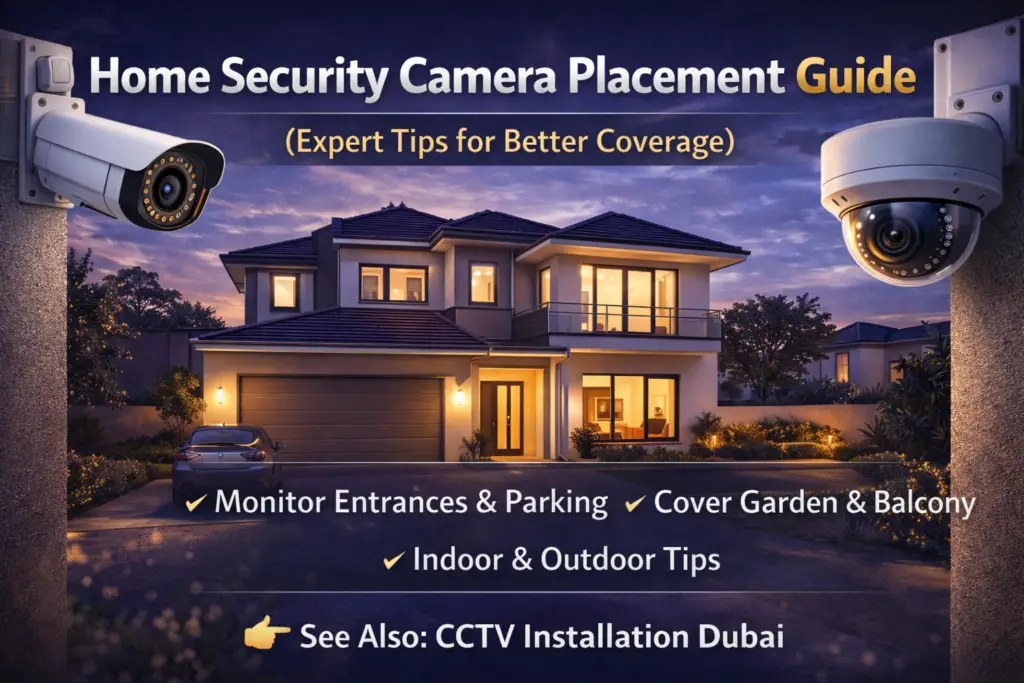
Do not mount an indoor camera above the stove or sink. Steam, grease, and heat will coat the lens and damage the camera. The camera will also produce false alerts every time you cook or wash dishes.
Steam, grease, and false motion alerts
Steam from cooking looks like motion to a camera sensor. A kettle boiling or a pot simmering can trigger dozens of alerts. Grease from frying lands on the lens and blurs the video.
Sinks create the same problem. Steam from hot water and constant movement lead to false alerts. You spend more time dismissing notifications than watching real events.
The cleaning and maintenance burden you’ll regret
A camera above the stove needs constant cleaning. Grease builds up fast and is hard to remove. You risk pushing grease into the speaker holes or lens seal. Some manufacturers warn that residue can void the warranty.
Choose a spot away from cooking and washing areas. A shelf across the room gives a wider view and keeps the camera clean. Your camera will last longer and need less upkeep.
4. Behind Mirrors, Plants, or Inside Cabinets
Do not hide indoor cameras behind objects. Mirrors, plants, and cabinet doors block the field of view. They also confuse the infrared sensor, which ruins night vision and motion detection.
Blocked field of view and infrared bounce
Hidden cameras often capture nothing useful. A plant leaf can cover half the lens. A mirror reflects infrared light instead of letting it pass. A cabinet door blocks the view completely when closed.
Infrared bounce is a common hidden-camera problem. The infrared light hits a nearby surface and reflects back. The image becomes washed out or dark. The camera may also fail to detect motion.
How to check for obstructions before you mount
Before mounting, open the camera app and look at the live view. Check every corner of the frame. Move anything that blocks the lens. Make sure the camera has a clear line of sight.
Test motion detection from the app. Walk across the room and see if the camera catches you. If it misses you, the location is wrong. Move the camera until the view is clear.
5. Near HVAC Vents, Radiators, or Direct Sunlight
Do not place indoor cameras near heat sources. HVAC vents, radiators, and direct sunlight can overheat the camera. Heat distorts the image, drains the battery, and may shut the camera down.
Heat distortion, battery drain, and thermal shutdown
Cameras have a listed operating temperature range. Most indoor cameras work between about 32°F and 104°F. A vent blowing hot air directly on the camera pushes it past that range. The image can look wavy or blurry.
Battery cameras drain faster in heat. The battery degrades when exposed to high temperatures. Some cameras shut down completely to protect the hardware. You lose coverage at the worst time.
Warranty and sensor limitations to know
Heat damage is often excluded from warranties. Check your camera manual for the operating temperature range. Keep the camera away from vents, radiators, and south-facing windows. A cool, shaded spot is safer.
Cold is rarely a problem indoors. Heat is the bigger risk. Keep the camera in a stable environment.
6. In Rentals or Shared Spaces Without a Written Agreement
Do not install cameras in a rental or shared home without written consent. Landlords, roommates, and guests all have privacy expectations. A camera placed without agreement can lead to disputes or lease violations.
Landlord, roommate, and guest consent
Your lease may limit where cameras can go. Some landlords ban cameras in common areas. Others require written notice before installation. Read your lease and talk to your landlord before you drill any holes.
Roommates need to agree too. A camera in a shared living room affects everyone. Guests may not know they are being recorded. Clear communication prevents most conflicts.
How to document placement to avoid disputes
Write down where each camera goes and who agreed to it. Save emails or text messages about the placement. Take photos before you drill so you can restore the space later.
Use removable mounts when possible. Many indoor cameras work fine on a shelf or with adhesive strips. These leave no holes and are easy to remove. That makes them ideal for renters.
7. In Wi-Fi Dead Zones or Too Far From the Hub and Outlet
Do not place indoor cameras where the Wi-Fi signal is weak. A camera in a dead zone will buffer, drop alerts, and record poor video. Distance from the router and outlet matters more than most people think.
Signal strength, video quality, and alert delays
Indoor cameras need a stable upload connection. Weak Wi-Fi means choppy video and delayed alerts. The camera may miss the event entirely. Learn how a security camera works during an internet outage before you rely on one.
Check the signal strength in the camera app before mounting. Many apps show a Wi-Fi indicator for each camera. If the signal is weak, move the camera closer to the router or add a mesh node.
Power, cabling, and hub placement constraints
Indoor cameras need power nearby. A plug-in camera needs an outlet within reach of its cord. A battery camera needs to be reachable for recharging. Plan for both before you pick a spot.
Some cameras need a hub or base station. The hub must sit within range of both the camera and the router. If your home lacks reliable Wi-Fi, a security camera without WiFi might suit your needs.
Best Practices for Placement You Can Trust
Good placement follows a simple process. Test first, mount second, and review your settings. These habits prevent most common placement mistakes.
Run a 10-minute placement test before drilling
Set the camera in the proposed spot without mounting it. Check the live view on your phone. Walk through the room and watch for blind spots. Test night vision and motion detection. Move the camera if anything looks wrong.
Repeat the test at different times of day. Morning light and evening shadows change the view. A location that works at noon may fail at midnight.
Set privacy zones, storage, and subscription expectations
Use privacy zones to block out areas you do not want recorded. Check your storage options before you rely on the camera. Some cameras need a subscription for cloud recording. Others support local storage on an SD card.
Know what happens when the camera loses power or internet. Review the app settings for alerts, recording schedules, and shared users. Set expectations about who can view the feed.
Know when to call a professional installer
Some placements need professional help. High ceilings, difficult wiring, and complex network setups are good reasons to call an installer. A professional can also advise on camera angles and privacy rules.
Do not attempt electrical work unless you are qualified. Follow the exact manual for your camera model. When in doubt, get help from a licensed professional.
The best indoor camera placement is visible, practical, and respectful of privacy. Avoid bedrooms, bathrooms, windows, heat sources, and weak Wi-Fi spots. Test the view before you mount and check your local rules. A camera in the right place protects your home without invading privacy.
Frequently Asked Questions
It is not recommended. Bedrooms are private spaces where household members and guests expect no recording. Some states also have consent laws that make bedroom cameras legally risky.
Laws vary by state and city. Pointing a camera at a neighbor’s unit can violate local privacy rules. Even when legal, glass glare and infrared reflection ruin the video quality.
Yes, many parents do, but the rules change as children grow. Talk to your family about who can view the feed and when. Check your state law if you plan to record audio.
Not always. Some cameras work without a plan and store video locally on an SD card. Others require a subscription for cloud recording and advanced alerts. Check the plan details before you buy.
Most cameras stop streaming and cloud recording during an outage. Some models keep recording to local storage. Check your camera’s manual and app settings to know what yours does.
Yes, but check your lease first. Many landlords restrict drilling and camera placement. Use adhesive mounts or shelf placement to avoid damaging the property.




One Comment