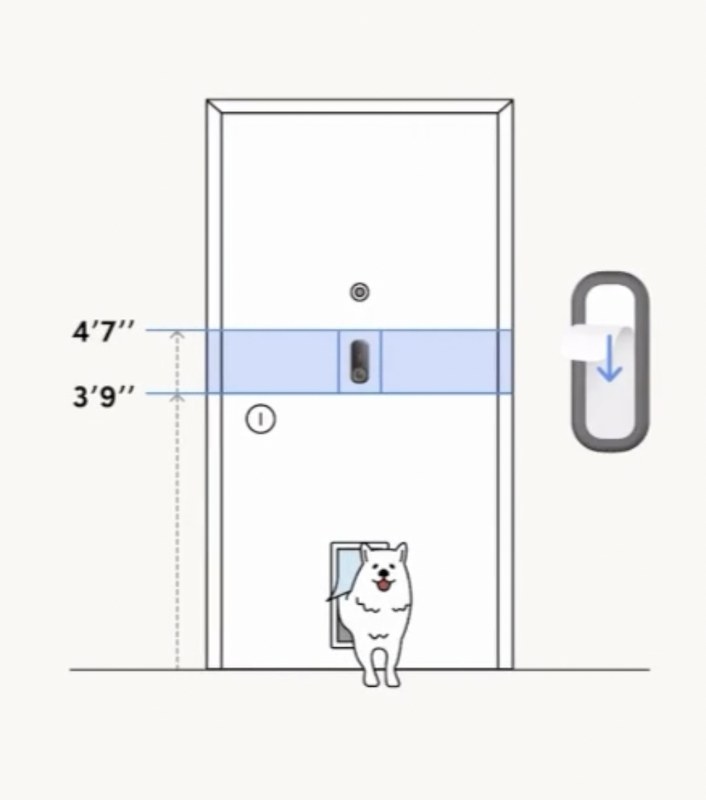
A good starting height for a Ring video doorbell is usually around 48 inches from the ground. Adjust it for your porch height, steps, Wi-Fi strength, and privacy needs before drilling.
Ring video doorbell installation height is usually best when the camera sits about chest level for most visitors, which often means around 48 inches from the ground to the lens or button area. That starting point helps with face capture, motion alerts, and everyday usability, but the right height still depends on your porch, steps, and door layout.
What Is the Ideal Ring Video Doorbell Installation Height?
The best height is the one that gives a clear view of faces, packages, and the approach path without aiming too high or too low. For many U.S. front doors, a mount around 48 inches works well as a starting point, then you fine-tune based on the camera angle and the path to the door.
Do not treat one number as universal. A tall stoop, short steps, sloped walkway, or mounted porch light can all change the best position.
The standard height range for most U.S. front doors
Most homes do well with a mounting height between 42 and 54 inches from the ground. The common target is near 48 inches, because it often frames a visitor’s face while still showing the door area.
If the door sits above a landing, measure from the surface where visitors stand, not from the driveway. That simple step often prevents the camera from pointing too high.
How height affects motion detection, face capture, and audio pickup
Height changes what the camera sees first. Too high, and it may miss faces or overfocus on hats and shoulders. Too low, and it may catch feet, pets, or passing cars instead of the person at the door.
Motion detection can also improve when the camera looks across the approach path instead of straight down. Audio pickup is less about height alone, but a better angle can help the microphone catch speech more clearly near the door.
How to Measure Your Doorway Before You Mount Anything
Measure the doorway height before installing the doorbell mount.
Measure the entry first, then choose the mount. That order helps you avoid blind spots, awkward angles, and unnecessary holes in the wall.
Take note of the standing surface, trim, steps, and nearby walls. Those details matter as much as the doorbell itself.
Doorframe, trim, porch, and step height considerations
Start with the height of the porch floor or landing. Then check how far the trim extends from the wall and whether the door opens outward or inward.
If there are steps, remember that visitors may stand one or two steps below the door. In that case, the best camera height may be slightly lower than you first expect.
When a wedge or corner mount is a better fit than a flat mount
A wedge mount changes the camera angle. A corner mount shifts the view to one side. Both can help when the door is narrow, the porch is angled, or a wall blocks part of the scene.
If the camera faces a side path, a wedge may be better than moving the whole unit higher or lower. For more setup basics, see the Ring Battery Doorbell installation guide.
Choosing the Best Placement for Your Home Layout
The right height depends on the type of home and how people reach the door. Apartments, townhomes, and single-family homes often need different mounting choices.
Think about traffic flow, privacy, and who can reach the doorbell button easily. The goal is a useful view, not just a centered shot.
Single-family homes, apartments, and townhomes
Single-family homes usually have the most flexibility. You can often place the doorbell at a standard height and adjust with a wedge if needed.
In apartments or townhomes, the door area may be tight. That can make a slightly lower or offset placement more practical, especially if the door opens near a wall or railing.
Dealing with narrow porches, side angles, and nearby sidewalks
Narrow porches can cause the camera to overcapture the sidewalk or street. If that happens, a lower angle or side mount may reduce wasted footage.
Sidewalks and driveways also affect motion alerts. If people walk close to the door, the camera may need a tighter angle to avoid constant notifications.
Protecting neighbor privacy and reducing unwanted camera coverage
Good placement should limit views of neighboring windows, shared walkways, and public areas you do not need to record. That helps reduce privacy concerns and keeps motion zones more useful.
Use privacy zones if your model supports them. If not, adjust the mount so the camera focuses on your entry only.
Power, Wiring, and Compatibility Checks Before Installation<
Check power, wiring, and compatibility before starting installation.
Before mounting, confirm how the doorbell gets power and what your existing setup supports. This step matters for both battery and wired models.
It also helps you avoid a common mistake: choosing the right height but the wrong power setup.
Battery, hardwired, and existing doorbell transformer requirements
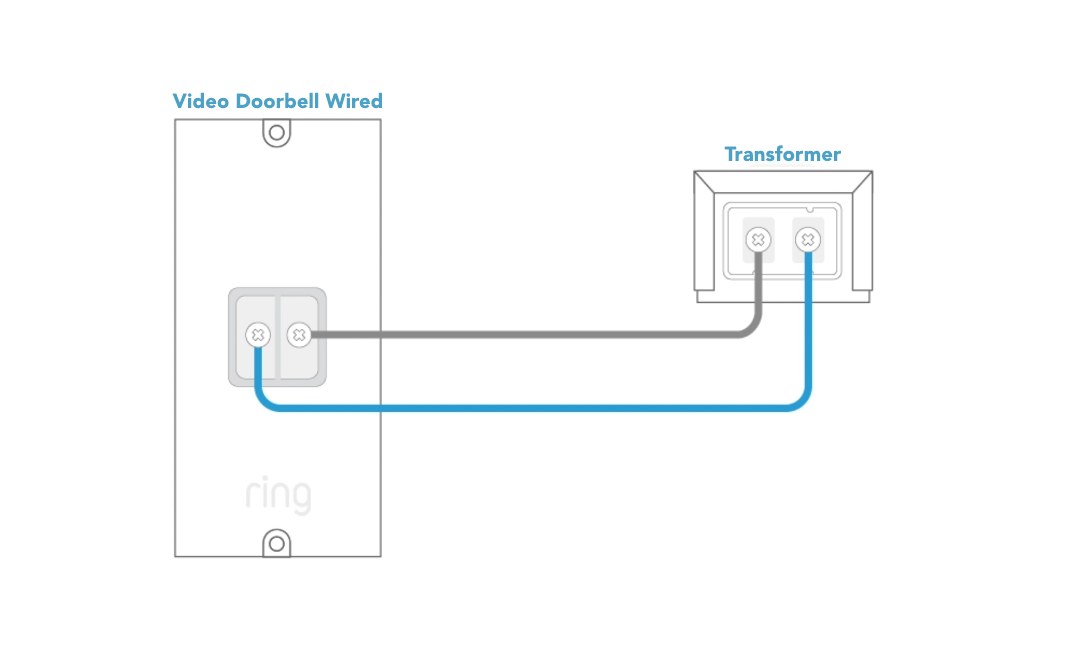
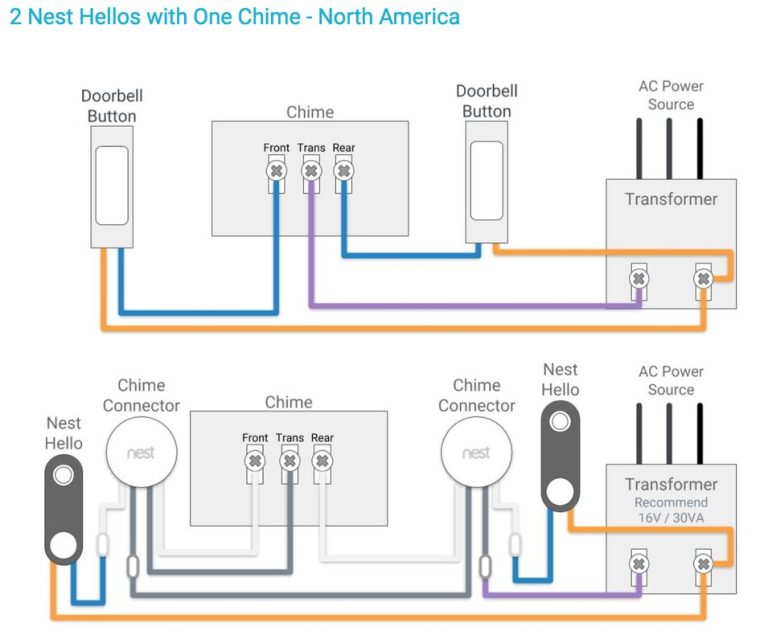
Battery models are usually simpler to place, but they still need a location that supports charging or battery swaps. Hardwired models depend on the right low-voltage wiring and transformer.
If you are replacing an older doorbell, check the transformer rating and wiring path in the manual. For wiring-specific planning, the hardwire Ring Battery Doorbell guide can help frame the questions to ask before installation.
Wi-Fi strength, router band choice, and signal drop concerns
Doorbell placement should also account for Wi-Fi. A perfect camera angle will not help if the signal drops at the front door.
Check whether the model supports 2.4 GHz, 5 GHz, or both. Then test the connection at the exact mounting spot, since walls, brick, and metal doors can weaken the signal.
When to verify chime compatibility or use a Ring Chime
Some homes can use the existing indoor chime. Others need a chime kit, adapter, or a separate Ring Chime device.
If the doorbell will be wired into an older system, verify compatibility before drilling. The Ring Battery Doorbell chime setup guide is useful when you are sorting out doorbell and chime behavior.
Step-by-Step Installation Considerations for Better Results
The best results come from careful layout, not speed. Mark the spot, test the view, and only then drill or fasten the mount.
That approach works for homeowners and renters alike, especially when wall damage matters.
Marking height, leveling the mount, and testing the viewing angle
Use painter’s tape or a light pencil mark to test the height first. Hold the doorbell in place and check the view in the app if the model supports live preview.
Make sure the mount is level. Even a small tilt can change how the motion sensor sees people approaching the door.
Drilling into siding, brick, stucco, or rental-friendly surfaces
Different surfaces need different fasteners. Brick and stucco often need special anchors, while some rentals may require removable or low-damage options.
If you rent, review your lease or ask the property manager before drilling. A no-drill mount may be the safer choice when you need to preserve the surface.
Weather sealing, secure fasteners, and vibration resistance
Outdoor mounts should stay tight through rain, wind, and repeated button presses. Loose hardware can shift the camera and blur the view.
Use the seals, gaskets, and screws listed in the manual. Do not improvise with parts that were not designed for the unit.
Privacy, Cybersecurity, and Smart Home Account Setup
Placement is only part of the job. The app settings and account setup matter just as much for daily use.
Strong privacy and security settings help limit who can see your video and how much the camera records.
Setting motion zones, privacy zones, and alert preferences
Motion zones let you choose where the camera looks for activity. Privacy zones block parts of the view you do not want recorded.
Set alerts carefully. Too many notifications can make people ignore important ones, while too few can leave gaps in coverage.
Using multi-factor authentication and strong account recovery options
Use a unique password for the account and turn on multi-factor authentication, often called MFA. MFA adds a second check when someone signs in.
Also confirm recovery email and phone details. If you lose access, those settings can help you regain control faster.
Shared users, app permissions, and household access control
Many households share one doorbell account across several phones. That can be convenient, but it also needs clear permission settings.
Review who can view video, change settings, or delete clips. Remove old users when they no longer need access.
Storage, Subscriptions, and Ownership Costs in 2026
Ownership cost is more than the doorbell price. You may also need accessories, storage, or a subscription for full video history.
Before you buy or install, check what works without a plan and what does not.
What Ring features work without a subscription
Some core functions may still work without a subscription, but video history and advanced features often depend on the current plan structure. Exact features can vary by model and account setup.
Check the current plan page before you rely on cloud clips or event review.
Cloud video history, event retention, and plan differences
Cloud storage usually adds event history and easier access from the app. The tradeoff is ongoing cost and dependence on the provider’s account system.
Long-term cost tradeoffs for renters versus homeowners
Renters often prefer lower upfront changes and removable mounts. Homeowners may care more about long-term storage, replacement parts, and wiring support.
Either way, compare the full cost of the device, mount, possible chime add-ons, and any subscription you may need.
Maintenance, Troubleshooting, and When Height Needs to Change
After installation, the job is not finished. A doorbell camera needs occasional checks to stay useful.
Small changes in weather, lighting, or landscaping can make the original height less effective.
Cleaning the lens, checking battery life, and updating firmware
Clean the lens with a soft cloth when dust or pollen builds up. Then check battery level, connection status, and firmware updates in the app.
Firmware is the device software. Updates can improve performance, fix bugs, and support new features.
Fixing blind spots, false motion alerts, and poor night visibility
If the camera misses faces, the mount may be too high or angled too far down. If it records too much street activity, the angle may be too wide.
Poor night visibility can also come from porch lights, glare, or reflective surfaces. Adjust the angle before assuming the camera itself is the problem.
Repositioning after porch changes, landscaping, or seasonal lighting shifts
Porch furniture, planters, and railings can change the view over time. So can trees, shrubs, and winter shadows.
If the entry changes, revisit the mounting height and motion zones. A small repositioning can fix a lot of daily frustration.
Final Checks Before You Commit to the Mounting Spot
The best mounting spot is the one that works every day, not just on installation day. It should be easy to use, easy to reach, and clear enough to show visitors well.
Before you drill, confirm the height, the angle, the power setup, and the privacy settings. If any part feels uncertain, pause and verify the manual or ask a qualified installer.
Final Takeaway
For most U.S. front doors, a starting height near 48 inches gives the best balance of face capture, motion detection, and ease of use. The right final position still depends on your porch, steps, wiring, Wi-Fi, and privacy needs.
A common starting point is about 48 inches from the ground to the camera or button area. The best final height depends on your porch, steps, and the angle you need for face capture.
Use a wedge or corner mount when a flat mount points too far down, too far up, or toward a side wall. It can help improve the view without changing the doorbell height too much.
Yes. A doorbell can be mounted well but still perform poorly if the signal is weak at the entry point. Test the connection where the doorbell will sit.
Some features may work without a plan, but video history and certain app features often depend on the current subscription setup. Check the current plan details for your exact model.
Aim the camera at your entry only and use privacy zones if available. Avoid recording more of shared walkways or neighboring windows than you need.
Use a professional if wiring, transformer checks, ladder work, masonry drilling, or rental rules feel uncertain. Safety and correct wiring matter more than speed.
Hi, I'm Marcus Sterling, a smart home security expert with over 5 years
of hands-on experience testing and reviewing hundreds of security cameras, smart locks, and alarm systems. My mission is to make smart home security accessible, affordable, and easy to understand—and every review I publish is 100% independent, unbiased, and honest. I don't accept payments for positive reviews, just practical advice to help you secure your home with confidence.
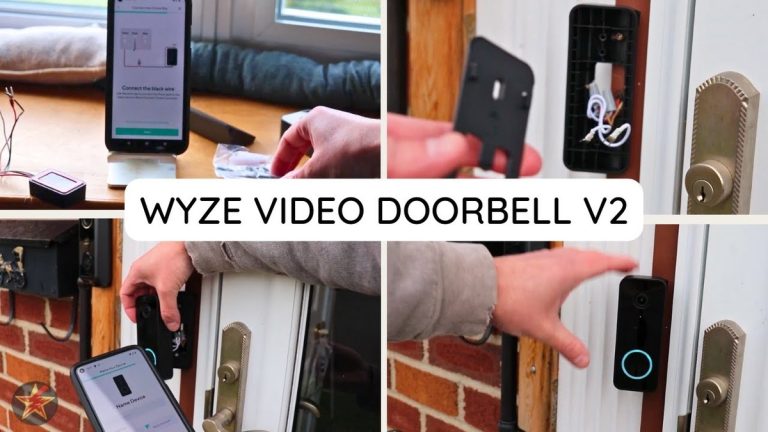
Quick Security Answer If your home already has compatible wiring and solid 2.4 GHz Wi-Fi, setup is usually manageable for a beginner. The main checks are power, chime compatibility, placement, and account security. Wyze video doorbell v2 installation is usually straightforward for homes that already have doorbell wiring and a stable 2.4 GHz Wi-Fi signal….
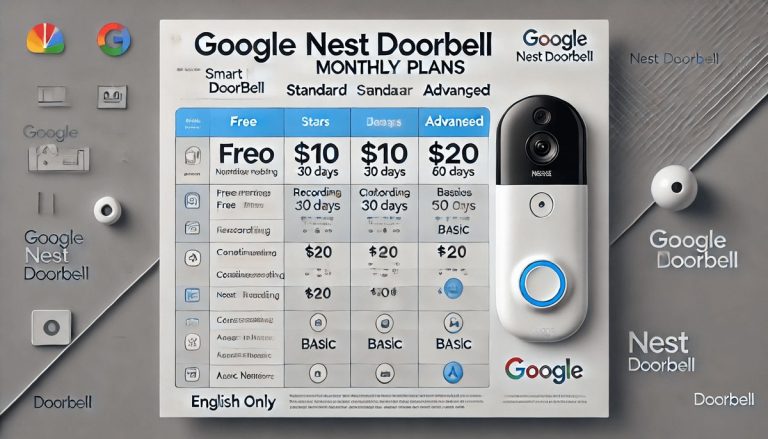
Quick Security Answer Yes, Nest Doorbell can have a monthly fee if you want cloud video history and some advanced features. Basic live view and alerts may still work without paying, depending on the model and current Google Home plan. Does Nest Doorbell Have a Monthly Fee? The short answer is yes, but not always…
How to install ring wired doorbell 4k pro is a practical question for homeowners and renters who want a hardwired video doorbell that fits their entryway, Wi-Fi setup, and privacy needs. This guide walks through the installation process in plain English, with safety checks, compatibility notes, and the everyday setup steps that matter after the…
Quick Security Answer A Ring battery doorbell is usually set up by charging the battery, adding the device in the app, and mounting it in a spot with a clear front-door view. The most common problems are weak Wi-Fi, poor placement, or skipped privacy settings. If you want to know how to setup ring battery…
The eufy Video Doorbell E340 works with HomeBase 3, also called the S380 HomeBase. This setup lets us connect the doorbell to eufy’s local storage system and manage compatible security devices in one place. Yes, the E340 is compatible with HomeBase 3/S380, but we need compatible firmware and proper setup for a reliable connection. We’ll…
Quick Security Answer A wired video doorbell can work with an existing chime if the transformer, wiring, and chime type match the model’s requirements. Check those details first, because compatibility, Wi-Fi strength, and storage costs often decide whether the setup is simple or frustrating. A wired video doorbell that works with existing chime is often…



2 Comments