Ring Battery Doorbell Plus installation is usually a manageable DIY project if your Wi-Fi is strong and the mounting spot is clear. Renters should check lease rules first, and anyone with uncertain wiring should stop and follow the manual or hire help.
ring battery doorbell plus installation is usually a straightforward DIY project for many US homes. The best result depends on placement, Wi-Fi strength, and your doorframe layout.
This guide explains what to check before you drill. It also shows how to mount it safely and which app settings matter after setup.
What Ring Battery Doorbell Plus Installation Involves in 2026
Installing a battery video doorbell usually means charging the battery. Then you choose a mounting spot, attach the bracket, and finish setup in the app.
For many homeowners and renters, that can take less than an hour. The surface must be ready, and the Wi-Fi signal must be strong.
The exact steps can still vary by firmware and app version. They can also vary by battery-only power or optional wired support.
Quick answer: what you need, how long it takes, and whether you can do it yourself
You usually need the doorbell, the battery, the mounting bracket, screws, a drill, a level, and the Ring app.
You also need a stable 2.4 GHz Wi-Fi connection in many homes. Supported bands can vary by model.
Most people can do the job themselves if they are comfortable with basic tools.
If the install involves uncertain wiring, damaged trim, a hard-to-reach entry, or rental restrictions, stop and use the manual or a qualified installer.
Who this guide is for: homeowners, renters, and apartment dwellers
This guide fits homeowners who want a simple front-door camera. It also helps renters who need a removable setup.
Apartment residents can use it too, if they must follow building rules.
It also helps caregivers and small-property owners who want better package visibility and easier visitor screening.
Renters should check lease terms, HOA rules, and any limits on drilling or exterior hardware.
In shared buildings, privacy and common-area views matter as much as hardware fit.
Before You Start: Compatibility, Location, and Power Checks
Check compatibility, placement, and power before installing the doorbell.
Good prep prevents most installation problems. Before you mount anything, confirm the surface, the viewing angle, the Wi-Fi signal, and whether the device will run on battery alone or with optional wired support.
Confirming doorframe clearance, mounting surface, and viewing angle
Measure the space around the door. Check that the bracket will sit flat.
Brick, vinyl, wood, and metal surfaces may need different anchors or drill bits.
Also look at how the door swings. A doorbell that sits too close to the frame can block the view or get bumped when the door opens.
Checking Wi-Fi strength, router band support, and app/account readiness
A video doorbell depends on stable home internet. Weak Wi-Fi can cause slow live view, missed alerts, or setup failures.
Before mounting, stand at the door and check signal strength on your phone. Also confirm your router supports the band the device needs.
Make sure your Ring account, email, and password recovery info are ready.
Deciding between battery-only use and any optional wired support
Battery-only use is the simplest path for most renters and many homeowners. It avoids low-voltage wiring questions and makes removal easier later.
If your model supports optional wired power, that can reduce charging frequency.
Still, any wiring should match the exact manual and your home’s existing transformer or adapter requirements.
Choosing the Best Mounting Spot for Coverage and Privacy
The best spot gives you a clear face view, package visibility, and enough context to understand motion. It should also avoid unnecessary views of neighbors, sidewalks, or shared spaces.
Getting the right height for faces, packages, and porch visibility
A common goal is to place the camera high enough to see faces, but low enough to catch visitors and packages.
Exact height can vary by porch design and the camera’s field of view.
If the angle is too steep, you may only see the top of heads and the doorstep. If it is too low, you may miss faces and get more false motion from passing cars.
Managing glare, night performance, and motion detection zones
Sun glare, porch lights, and reflective doors can wash out daytime video. Night performance also depends on light placement and how much ambient light reaches the entry.
Motion zones help reduce alerts from streets, trees, and sidewalks. Set them carefully so the camera watches your entry without tracking too much public space.
Respecting neighbor privacy, sidewalks, and shared entryways
In apartments and multi-unit homes, the camera should focus on your own entry. Avoid pointed views into hallways, neighboring doors, or private windows whenever possible.
For shared porches or sidewalks, use privacy zones and narrower motion areas. That lowers the chance of recording more than you need.
Step-by-Step Ring Battery Doorbell Plus Installation<
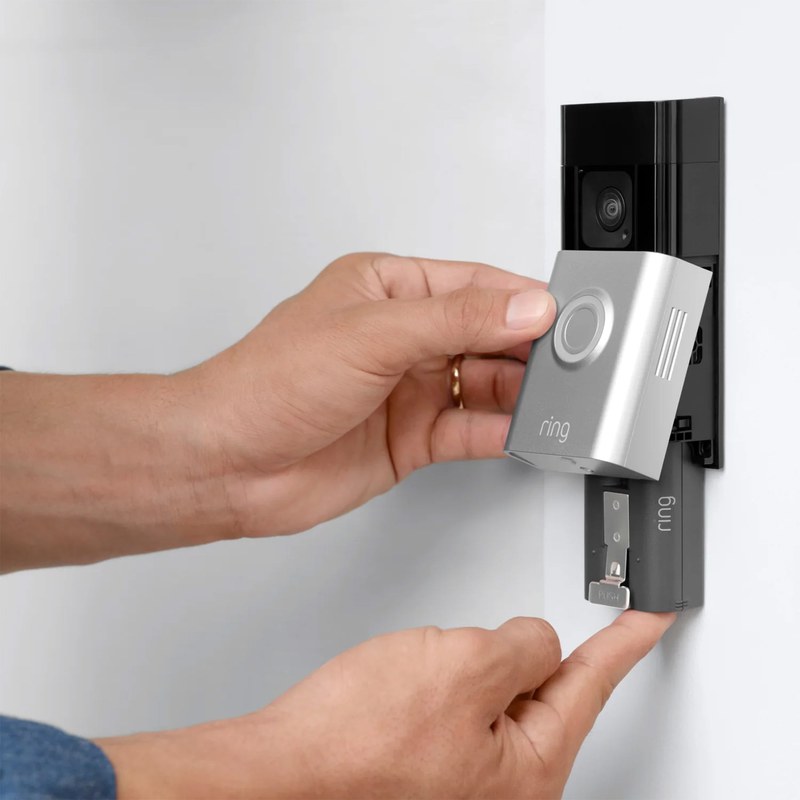
Step-by-step installation of a Ring Battery Doorbell Plus on a home entryway.
/h2>
The process is simple when you follow the manual in order. Charge first, mount second, and complete app setup last.
That lets you test everything before final tightening.
1
Confirm requirements
Verify the exact model, power, network, storage, placement, household, rental, and platform requirements.
2
Plan safe placement
Consider privacy, field of view, weather, height, doors and windows, wiring, and emergency access.
3
Install and secure
Follow the exact manual, update firmware, use a unique password, and enable MFA.
4
Test and maintain
Test alerts, recording, outage behavior, batteries, users, permissions, and backup procedures.
Charging the battery and preparing the device
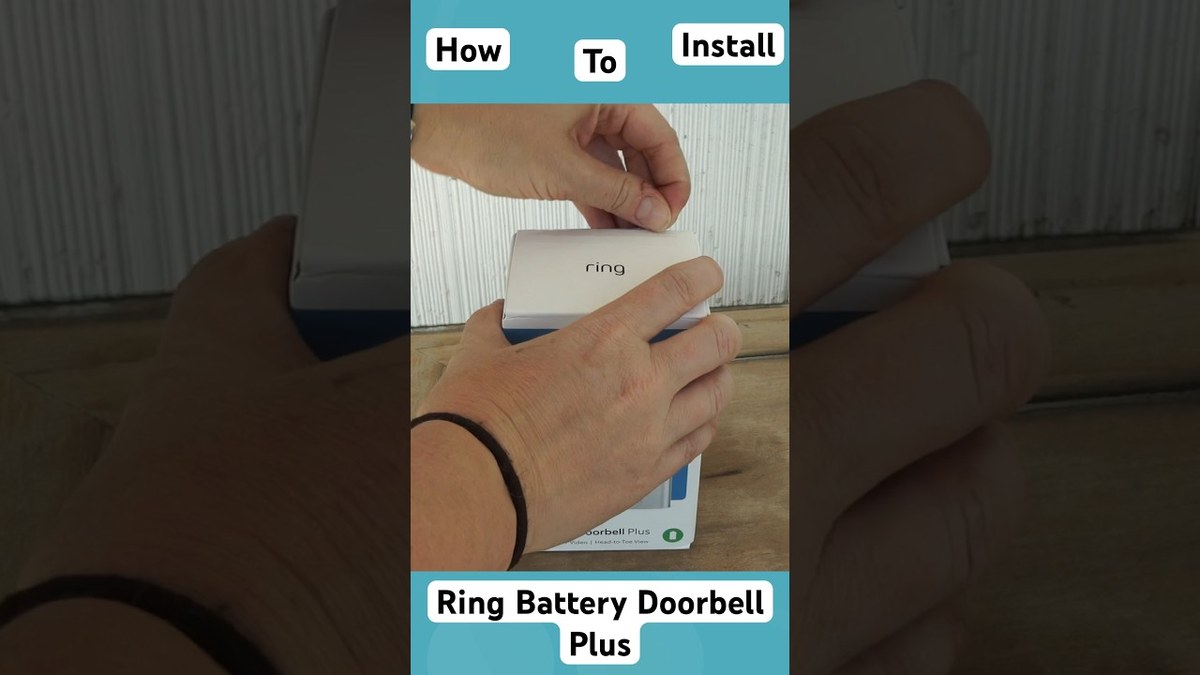
Charge the battery fully before installation. That makes setup smoother and helps you avoid troubleshooting a low-power device during pairing.
Open the battery compartment, insert the charged battery, and confirm the doorbell powers on. Keep your phone nearby with the Ring app installed and logged in.
Mounting the bracket, securing the doorbell, and leveling the angle
Hold the bracket at the chosen spot and mark the screw holes. Use a level if the surface is not already straight.
Drill only where needed, and use anchors if the surface requires them. After the bracket is fixed, slide or click the doorbell into place.
Confirm it sits snugly without wobble.
Connecting the device in the Ring app and finishing setup
Open the app, add the device, and follow the pairing prompts. Most setup issues come from weak Wi-Fi, the wrong network, or a phone that needs permissions enabled.
Once paired, name the device clearly, test live view, and confirm motion alerts. Then check that the chime, volume, and notification settings fit your household.
Setup Choices That Affect Alerts, Storage, and Monitoring
After installation, the app settings shape how useful the doorbell feels. Small changes to motion, audio, and storage can reduce noise and help you catch the events you care about.
Motion sensitivity, privacy zones, and package detection settings
Motion sensitivity controls how easily the doorbell wakes up. Start lower if you live near a sidewalk or busy street, then adjust as needed.
Privacy zones hide parts of the image you do not want recorded. If package detection is available on your model or plan, confirm how it works before relying on it.
Live view, two-way audio, and notification preferences
Live view lets you check the door in real time. Two-way audio lets you speak to visitors, delivery drivers, or family members without opening the door.
Notification preferences matter just as much. Too many alerts lead people to ignore them, while too few can make the device less useful.
How Ring plans affect video history and cloud retention
Subscription plans can change how long recordings are stored and which features you can use. Exact plan features and retention rules can change, so verify current details before you depend on them.
If you are comparing storage approaches, this helps: local storage vs cloud storage is often a useful way to think about video access and retention.
For broader setup context, our Ring setup guide explains app-based pairing and account steps that are similar across many Ring devices.
Local Storage
Explain hardware, capacity, access, backup, and theft risks.
Cloud Storage
Explain plan cost, retention, internet dependence, account access, and provider controls.
Security, Privacy, and Cybersecurity Best Practices
Video doorbells are connected devices, so account security matters. Good password habits and update habits reduce the chance of unwanted access.
Using MFA, strong passwords, and account recovery safeguards
Use a unique password for the Ring account. Do not reuse one from email, banking, or shopping sites.
Enable multi-factor authentication, or MFA, if the account offers it. Also confirm recovery email and phone details are current so you can regain access later.
Managing shared users, device permissions, and app access
Households often share doorbell access. Give access only to people who need it, and review old users after guests move out or caregivers change.
If the app supports different permission levels, use the least access needed. That keeps control clear and limits accidental changes.
Understanding cloud storage, data retention, and privacy tradeoffs
Cloud storage is convenient, but it means your recordings sit on a vendor system. That can help with access from anywhere, yet it also creates account and retention tradeoffs.
Check how recordings can be deleted, exported, or shared. If privacy is a major concern, compare plan features carefully before you rely on cloud history.
Troubleshooting Common Installation and Connectivity Problems
Start with safe, reversible checks. Most problems come from Wi-Fi, placement, battery charge, or app permissions, not from a failed device.
Fixing weak Wi-Fi, setup failures, and pairing issues
If pairing fails, move closer to the router and try again. Restart the app, confirm Bluetooth and location permissions, and make sure you joined the correct home network.
If the signal is weak at the door, consider a mesh node or a different mounting spot. A strong signal often fixes slow alerts and dropped live view.
Resolving mounting problems, loose fit, and angle mistakes
A loose fit usually means the bracket is not seated flat or the screws are not anchored well. Recheck the wall material and use the correct hardware for that surface.
If the view is off, adjust the angle before tightening everything fully. Small changes can improve face detection and package coverage.
Handling battery drain, false alerts, and audio issues
Fast battery drain can come from high motion activity, weak Wi-Fi, frequent live view, or cold weather. Reduce unnecessary alerts first before assuming the battery is defective.
If audio sounds delayed or distorted, check network strength and app permissions. Then review microphone, speaker, and notification settings in the app.
Maintenance, Ownership Costs, and Long-Term Use
Long-term ownership is about routine upkeep, not just the first install. Charging, weather exposure, and subscription choices all affect how well the doorbell fits your home.
Battery charging routines, weather exposure, and seasonal upkeep
Battery charging frequency depends on motion activity, live view use, and temperature. Homes with busy sidewalks often need more attention than quieter entries.
Check the mount after storms, snow, or heat waves. If the camera lens gets dirty, clean it gently and keep the view clear.
Subscription costs, replacement parts, and total cost of ownership
Total cost includes the device, any mount or wedge kit, battery replacements if needed, and any cloud plan. If you want a current cost snapshot, verify it close to purchase because pricing and plan terms can change.
US Price & Subscription
Typical device priceVerify current USD price before purchase
Accessories or installationMounts, wedges, anchors, or pro install may add cost
Cloud planVerify current plan requirement
Professional monitoringNot typical for a video doorbell alone
ContractVerify current terms
When to reconsider placement, settings, or a different doorbell setup
Reconsider the setup if you keep getting false alerts, cannot hold a stable signal, or miss the view you need. Sometimes a better mounting angle solves the issue.
If your porch layout, wiring, or privacy needs are more complex, another doorbell style may fit better. A different model may also make sense if you need local storage, wired power, or a different app ecosystem.
Final Takeaway
Ring Battery Doorbell Plus installation is usually manageable for DIY users who have solid Wi-Fi, a suitable mounting surface, and clear privacy goals. If wiring is uncertain, the entry is awkward, or your building has rules, follow the manual and use qualified help when needed.
Not always. Many users install it on battery power only, but optional wired support depends on the exact model and your home’s wiring.
Many installs take less than an hour when the surface is ready and Wi-Fi is strong. More time may be needed for drilling, angle adjustments, or app setup.
You need a stable home Wi-Fi connection with enough signal at the front door. Check the exact band and router requirements in the product manual.
Often yes, if the lease and building rules allow exterior mounting. Renters should avoid permanent damage and use removable hardware when appropriate.
That depends on the current Ring plan and feature set. Verify the latest plan details before you rely on cloud storage or extended video history.
Start with battery charge, Wi-Fi strength, motion settings, and placement. If the problem continues, review the manual or contact support before changing wiring or drilling again.
Hi, I'm Marcus Sterling, a smart home security expert with over 5 years
of hands-on experience testing and reviewing hundreds of security cameras, smart locks, and alarm systems. My mission is to make smart home security accessible, affordable, and easy to understand—and every review I publish is 100% independent, unbiased, and honest. I don't accept payments for positive reviews, just practical advice to help you secure your home with confidence.
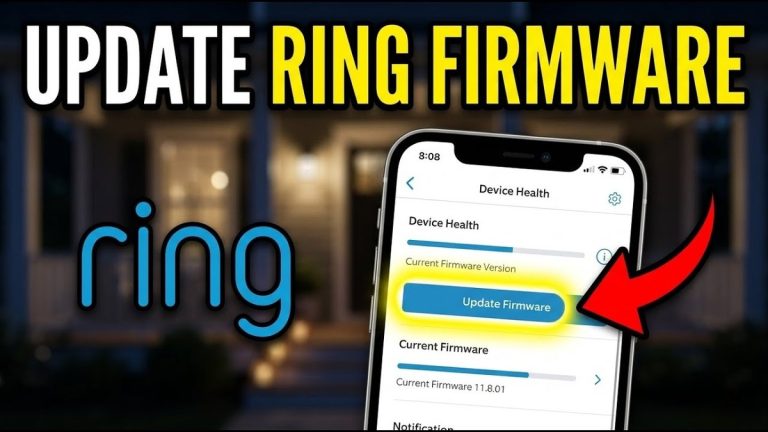
Quick Security Answer A Ring firmware update can improve security, fix bugs, and help your doorbell stay reliable. If it fails, check battery, Wi-Fi, and wiring before resetting anything. A ring video doorbell firmware update can improve security, fix bugs, and help your doorbell work more reliably. It can also change app behavior, alert timing,…
The eufy Video Doorbell E340 uses Wi-Fi for its smart features, such as app alerts, live video, cloud access, and remote two-way talk. Understanding this connection helps you choose the right setup and avoid surprises during network problems. Yes, the E340 needs a 2.4 GHz or 5 GHz Wi-Fi connection for app-based features and remote…
The eufy Video Doorbell E340 supports several chime options, but compatibility depends on the setup you choose. You can use an existing wired chime, a compatible eufy add-on chime, supported HomeBase models, Alexa devices, or Google Assistant devices. For the simplest wireless setup, use the official eufy Add-On Chime, while wired installations require a 16–24…
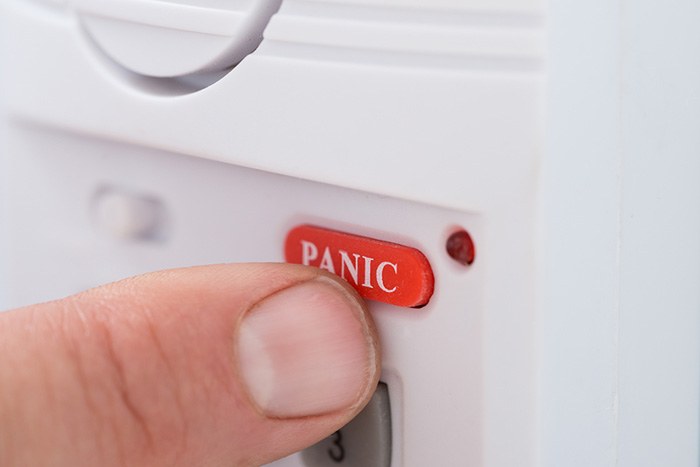
View on Amazon Quick Security Answer A panic button gives you a manual way to signal an emergency through your home alarm. It works only when the button, panel, power, network, and monitoring plan all work together. Smart Home Security Guide This guide offers a complete panic button for home alarm explained for beginners. You…
View on Amazon Quick Security Answer Check door fit, power, network, and property rules before buying a smart lock. Measure backset, bore hole, and door thickness, then read the exact model manual. Smart Home Security Guide Before you buy, you need to check the smart lock installation requirements that apply to your door. Fit, power,…
Quick Security Answer Google Nest Doorbell battery life depends mostly on motion, placement, Wi-Fi, and how often you open the app. In busy homes, expect more frequent charging than in quiet ones. Google Nest Doorbell Battery Life is usually best understood as “how busy is your front door?” not a fixed number on the box….




11 Comments