How to Test a Water Leak Sensor A Step by Step Guide
Test each water leak sensor with a damp cloth across its contact points, then confirm the alert reaches your phone. Monthly checks catch dead batteries, dirty contacts, and broken notification links before a real leak does.
Learning how to test a water leak sensor takes about ten minutes and tells you whether your smart home will actually warn you before water ruins a floor. A sensor that never detects water is just a plastic puck on the floor. This guide explains what a real test must verify, how to run one safely, and what to do when a sensor fails.
What a Water Leak Sensor Test Should Actually Verify
A proper test verifies three links in one chain: the sensor detects water, the hub receives that signal, and the app on your phone shows an alert. Most testing problems come from people verifying only one link.
The Difference Between a Test Button and a Real Leak Simulation
Most water leak sensors include a test button. Pressing it usually plays a chime or sends a test alert to the app. That tells you the battery, radio, and speaker work. It does not touch the two metal contacts that sense water. Those contacts are the part most likely to collect dust or corrode.
The honest way to verify the contacts is a leak simulation. Put a damp cloth across the contact points and watch for the alert.
| Method | What it verifies | Main limitation |
|---|---|---|
| Test button | Battery, radio, speaker, hub link | Does not verify the water-detection contacts |
| Damp cloth | Water detection at the contacts | Requires drying and clearing the alarm |
What “Passing” Means for the Sensor, Hub, and Phone Alert
Passing means the alarm appears where you need it. The sensor detects water, and the hub records the event. The app sends a push notification, and any connected siren sounds. An alert that only appears while the phone is unlocked is a weak test. Real alerts arrive with the screen locked.
Each link can fail on its own. A dead phone battery can silence the notification even when the sensor works perfectly.
How to Test a Water Leak Sensor: Step-by-Step Guide
Using a Damp Cloth to Simulate a Leak Safely
Use a clean, soft cloth. Run it under tap water, then squeeze it until it stops dripping. Lay the cloth across the sensor’s contact points and hold it for about ten seconds. Do not submerge the sensor, and never pour water onto it. Most sensors are not waterproof across the whole body.
Keep the test away from live appliances. Unplug anything near the test area when it is safe. If you test under a washing machine, check for real water while you are down there.
Open the app and check the battery, signal, and last-seen time.
Place a damp cloth across the contact points for ten seconds.
Confirm the app notification, the hub event, and any siren.
Remove the cloth, dry the sensor, clear the alarm, and return it to its position.
Using the Built-in Test Mode
Most brands include a test mode, either a physical button or an app command. Check your model’s manual for the exact method. Test mode is useful after a firmware update or a Wi-Fi change. Treat it as a backup check, not a replacement for the damp-cloth test.
Verifying the Full Notification Chain: App, Hub, and Siren
Confirming Push Notifications and App Permissions Are Working
Phone settings can block alerts from your security app without warning. Check the app’s notification permission and make sure alerts appear when the screen is locked. If you share the home, every person who wants alerts needs the app and a valid account. Test the chain for every household user.
Checking Siren Volume and Hub Connectivity
If your sensor or hub has a siren, confirm you can hear it from the rooms you use. A faint chime in a basement does not help if you sleep upstairs. Check the hub’s status in the app. A sensor that detects water while the hub is offline may not reach your phone until the connection returns.
How Often to Test Your Water Leak Sensors
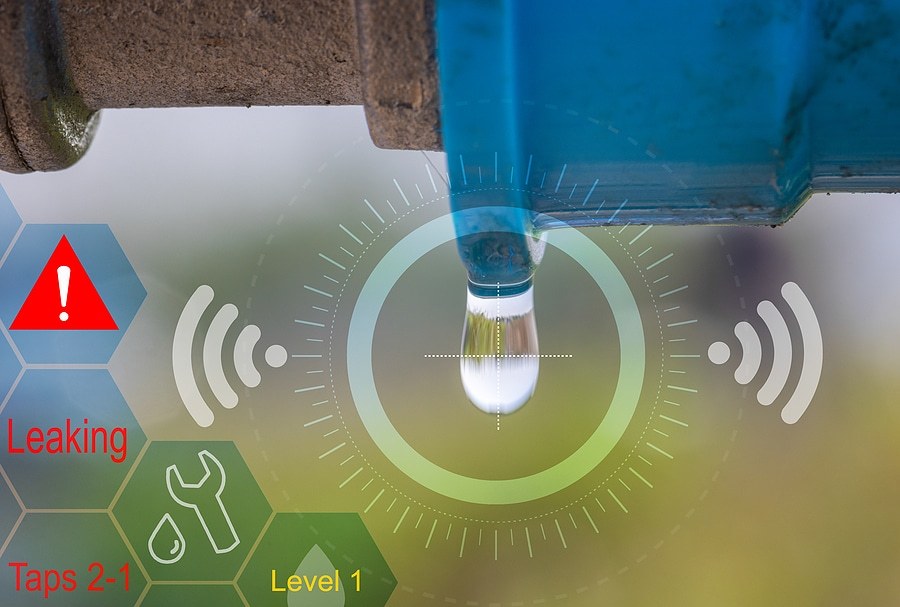
Test important sensors monthly. Basement, crawl space, and under-sink sensors deserve the most attention. Some manufacturers recommend quarterly tests, and a once-a-year test is too late for a slow leak that runs for months.
Test again after any battery change, firmware update, router change, app update, or sensor move. Each event can break a chain that previously passed.
Testing Sensors in Place: Placement and Home Layout Considerations
Testing in the Installed Location vs. on the Counter
Test the sensor exactly where it lives. Water pools at the lowest point, so a countertop test proves the electronics but not the real detection spot. The tight space under a sink behaves very differently from a kitchen counter. If you are unsure about the best spots, review where to place water leak sensors before building your testing routine.
Renter and Homeowner Placement Constraints
Renters often worry about drilling into cabinets or tile. Drilling is rarely required. Most sensors sit flat on the floor or attach with removable adhesive strips. Check the lease before mounting anything. Place sensors under kitchen and bathroom sinks, near the washing machine hookup, and beside the water heater when possible.
Homeowners can take a more permanent approach. Add the water heater pan, the basement drain area, and the main shutoff valve to your sensor list.
Troubleshooting a Water Leak Sensor That Fails Its Test
Battery, Firmware, and Wi-Fi Issues
Start with the easiest causes. Check the battery level in the app and replace low batteries. Update the sensor firmware and the app next. Check the network connection last. A sensor that cannot reach its hub will never produce a phone alert.
When a Failed Test Means Replacing the Sensor
If the sensor still fails after a new battery, updated firmware, and a working network, the hardware may be defective. Check the warranty terms before buying a replacement. Replacing one sensor is almost always cheaper than repairing water damage. For guidance, see the best water leak sensors for smart homes.
Water Leak Sensor Limitations, Subscriptions, and Ownership Costs
Monitoring Fees and Cloud Storage Subscriptions
Standalone leak sensors usually require no monthly fee. The sensor sends an alert through its hub, and the app shows it for free. Some brands bundle leak sensors with an alarm system that requires a monitoring plan for phone alerts. Verify the current plan page for your exact model. Leak sensors do not record video, so cloud storage is rarely part of the equation.
Sensor Lifespan and Long-Term Replacement Costs
Leak sensors are not buy-it-for-life devices. Humidity, dust, and corrosion can shorten their life. Battery life depends on the model and how often the sensor wakes. Replace batteries at the first low-battery alert, and inspect the contacts during each monthly test. If the contacts look stained, clean them with a dry cloth and test again. Replace the sensor if it still fails.
Next Steps After a Successful Test: Build a Leak Response Plan
Setting Up Automations and Shut-Off Valve Integration
A passing test is the start, not the finish. Connect the sensor to a smart siren, a smart plug that stops a washing machine, or a text to everyone in the household. The strongest upgrade is a motorized shut-off valve that closes the main water line. Learn the trade-offs in our comparison of a water leak sensor versus a water shutoff valve.
Documenting Test Results and Maintenance Schedules
Keep a simple log. Write down the date, sensor location, result, battery level, and firmware version. A monthly calendar reminder keeps the habit alive. When a sensor fails, the log tells you whether it is a pattern or a one-time event.
A water leak sensor only helps when the full chain works. Test each sensor monthly in its installed location, confirm the alert reaches your phone, and replace anything that fails. The ten minutes per month costs far less than a flooded floor.
Frequently Asked Questions
Test important sensors monthly, and test again after a battery change or firmware update. A monthly damp-cloth test catches problems before a real leak arrives.
No. The test button verifies the battery, speaker, and radio link, but it does not touch the water-detection contacts. Use a damp cloth across the contacts for a realistic test.
Most standalone sensors work with no monthly fee and alert your phone for free. Some alarm systems bundle leak sensors into a paid monitoring plan, so verify the current plan page for your exact brand.
Dust or corrosion on the metal contacts is the most common cause. Clean the contacts gently with a dry cloth and test again, then replace the battery if it still fails.
Yes, a damp paper towel works, but a cloth is easier to control and less likely to drip. Place it across the two contact points, never submerge the sensor, and dry the area afterward.
You need the sensor to reach its hub or router before the test can reach your phone. Check the hub status in the app, and verify the supported Wi-Fi band if the sensor recently dropped offline.