Reolink Argus 4 Pro Accessories: Essential Add-Ons for Better Security
Reolink Argus 4 Pro accessories can improve how you install, power, protect, and use this wireless security camera. The right add-ons may help you place the camera in a better viewing position, keep it powered for longer, or protect it from weather and accidental damage.
When choosing accessories, we focus on compatibility, mounting strength, power needs, weather resistance, and ease of installation. The best accessories should fit the Argus 4 Pro securely and support the way you plan to use the camera. We reviewed the most useful options and buying factors to help you choose the right accessories for your setup.
Best Reolink Argus 4 Pro Accessories
We selected the best Reolink Argus 4 Pro accessories based on compatibility, usefulness, durability, and ease of installation. Our list includes practical options for mounting, powering, protecting, and improving your camera setup.
VOMENC Argus 4 Pro Gutter Mount

We recommend this mount for placing a Reolink Argus 4 Pro and solar panel on a rain gutter without drilling.
Pros
- No-drill setup with adjustable positioning
- Holds both the camera and solar panel
- Standard 1/4-inch connections fit many devices
Cons
- May feel loose on some gutters
- Requires careful tightening for stability
- Gutter mounting may not suit every home
We attached the bracket by clamping it to the gutter and tightening the included thumb screws. The process was quick, and we could aim the camera and solar panel without making holes in the exterior wall.
The dual-mount design helped us place the panel where it could receive more direct sunlight while keeping the camera at a higher viewing point. Both parts held with standard 1/4-inch connections, though we would confirm thread compatibility before installation.
The bracket felt secure on a properly sized gutter, but fit can vary. A loose clamp may allow movement in wind, so we would check the mount after tightening and inspect it occasionally.
VIEWZONE Adjustable Metal Mount

We recommend this mount for Argus 4 Pro owners who want a sturdy, adjustable bracket for indoor or outdoor installation.
Pros
- Metal construction feels more secure than many basic plastic mounts.
- Swivel and tilt adjustments make it easier to set the camera view.
- The two-pack offers useful value for covering more than one camera.
Cons
- The mount may not provide the best angle for every ceiling setup.
- Some buyers found the included screw hardware weak.
- We should confirm Argus 4 Pro fit before ordering because the listing names other camera models.
We found the bracket easy to attach to a wall or ceiling, and the adjustable joint helped us fine-tune the camera position after installation. Once tightened, it held the camera steadily instead of slowly shifting.
The metal body also feels better suited to outdoor use than a lightweight plastic bracket. Its protective shape can help shield the camera connection from rain, although we would still place it under an eave when possible.
Installation hardware comes included, but the screws may not suit every surface. We would use stronger anchors for masonry or other hard materials. Overall, this is a practical accessory when we need flexible placement, but we would verify the mounting connection for the Argus 4 Pro before buying.
VOMENC 2-in-1 Gutter Bracket
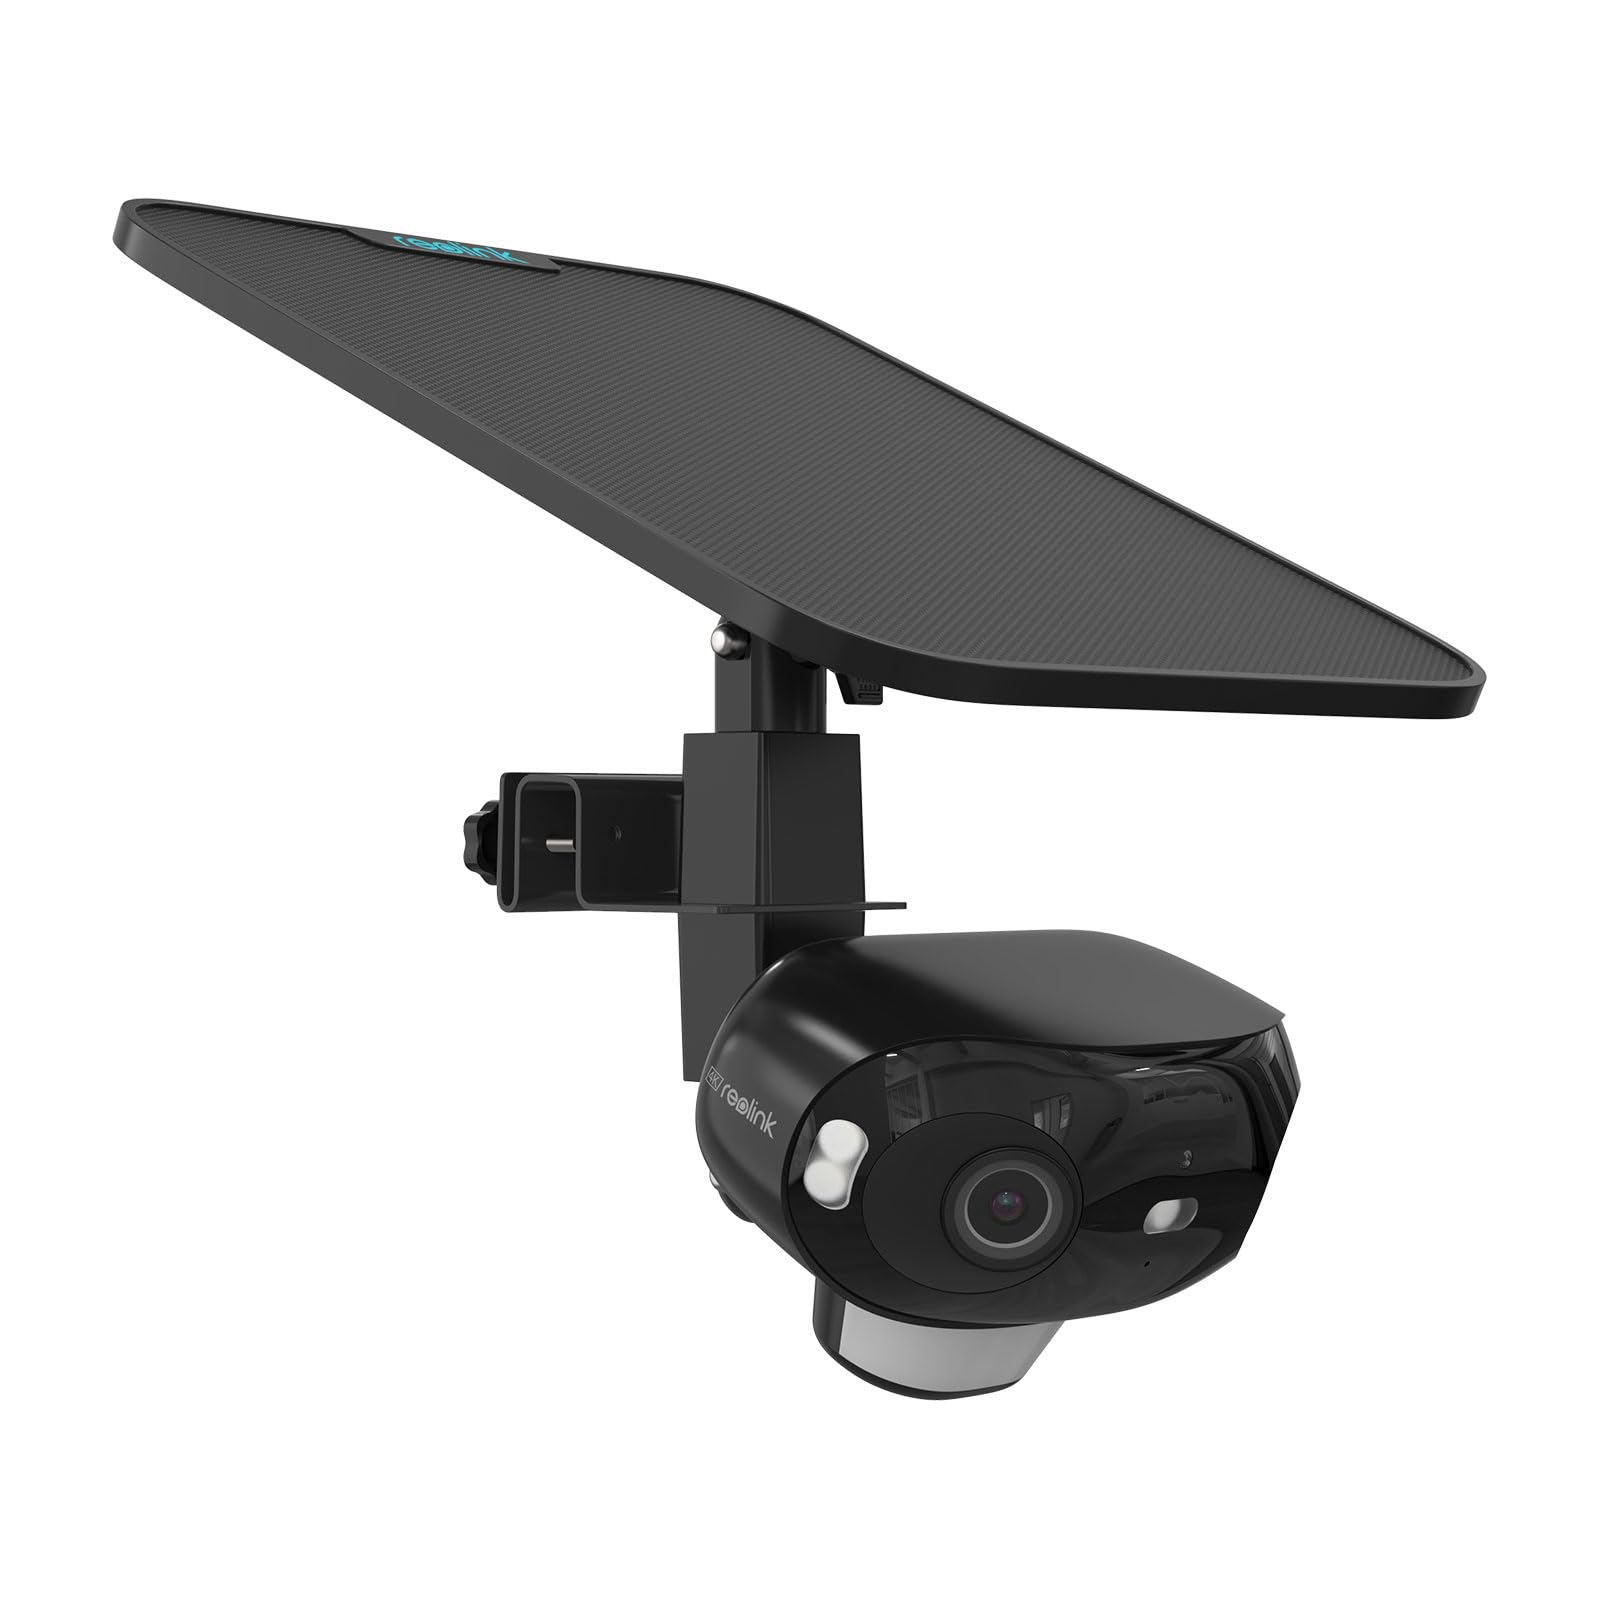
We recommend this mount for an Argus 4 Pro setup when we want a higher camera position and a no-drill installation.
Pros
- Mounts the camera and solar panel together
- Adjusts easily for viewing and sunlight
- Works with standard 1/4-inch screw connections
Cons
- May feel loose on some gutters
- Gutter fit can vary by design
- Adjusting both attachments takes some care
We installed the bracket by clamping it onto the gutter and tightening the included thumbscrews. The process was simple, and we did not need a drill or extra hardware.
The dual-mount design helped us place the camera and solar panel in one location. We could change their angles after installation, which made it easier to improve the camera view and direct the panel toward the sun.
The bracket felt light but held both accessories during use. However, we found that some gutters may need a tighter fit. The clamp can feel wobbly on certain profiles, so we would check it carefully and tighten it before leaving the camera in place.
Its standard 1/4-inch connections also make it useful with other compatible cameras and panels. We would buy it for a straightforward gutter setup, but we would confirm the gutter shape and screw connection first.
TIUIHU 2-in-1 Gutter Mount

We recommend this mount for Argus 4 Pro owners who want a flexible gutter installation without drilling into a wall.
Pros
- Adjustable viewing angle helps us aim the camera and solar panel.
- Rust-resistant construction suits outdoor use.
- Gutter placement can keep the camera out of easy reach.
Cons
- The camera screw sits in an awkward spot during installation.
- Tightening the camera can take some effort.
- We should confirm the camera model before ordering.
We found the mount easy to adjust after attaching it to the gutter. Its rotation and tilt range made it simpler to find a useful view while keeping the solar panel pointed toward open sky.
The main drawback appeared during setup. The camera screw is difficult to reach, especially when the mount sits close to the gutter. We needed patience to secure the camera firmly.
Once installed, the mount held the camera in place and gave us more height than a standard wall position. We would choose it for a compatible Argus 4 Pro setup when we want a clean installation without drilling.
Reolink Argus 4 Pro Solar Camera
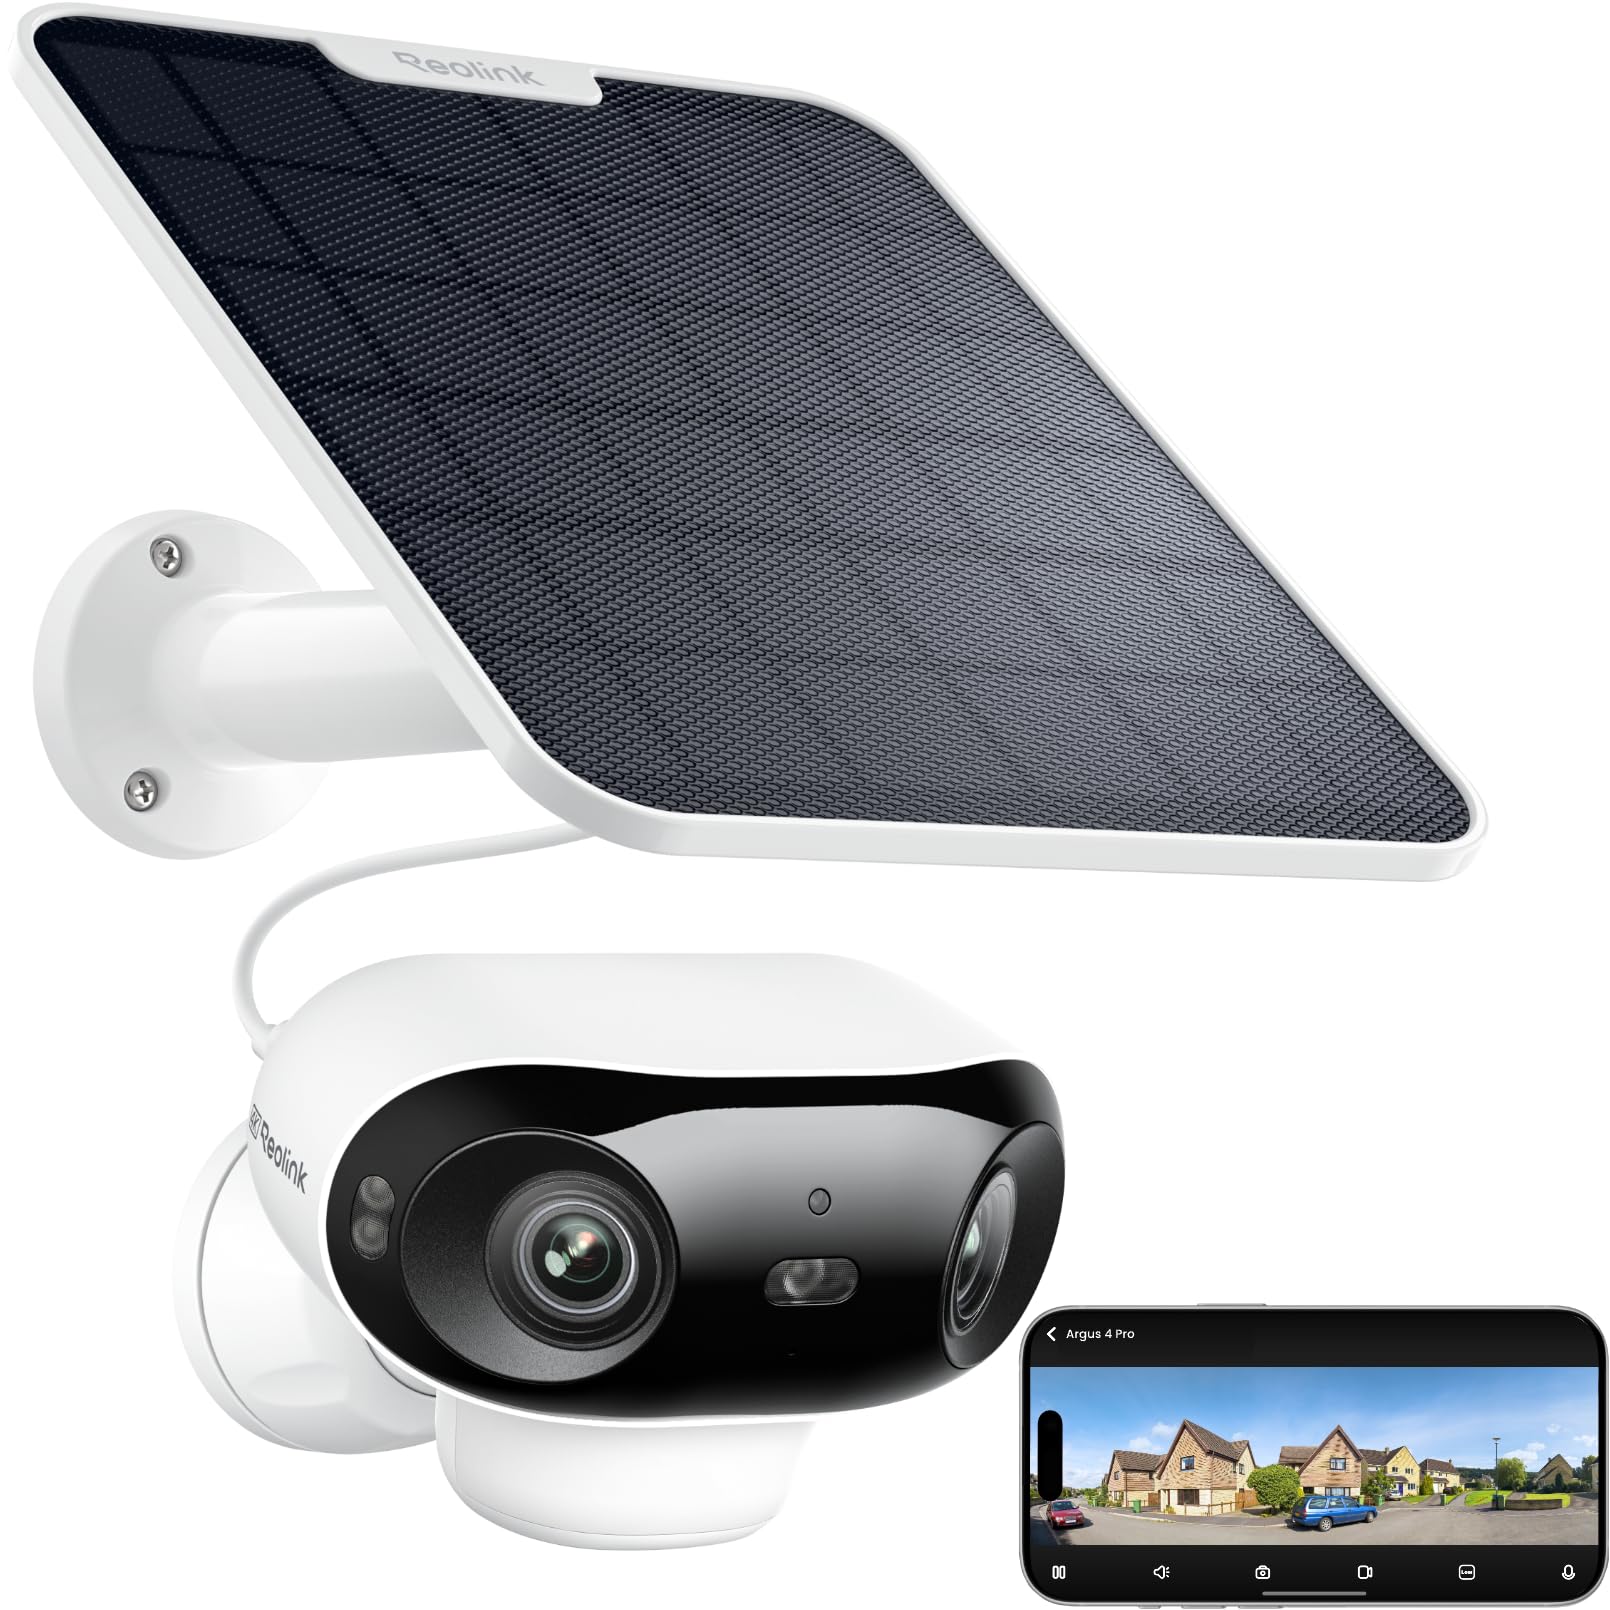
We recommend this camera for wide outdoor coverage when we want solar power, local storage, and no monthly fee.
Pros
- The dual-lens view covers a broad area with little image distortion.
- Color night footage stays clear without relying on a spotlight.
- Solar charging and battery power simplify installation.
Cons
- Strong Wi-Fi coverage may be needed for a stable connection.
- The exposed USB-C power port may need extra protection from rain.
- Motion alerts can require careful sensitivity adjustments.
We found the 180-degree view useful for monitoring a driveway and the side of a home with one camera. The image looked sharp in daylight, while the full-color night mode helped us identify activity after dark.
Setup was mostly simple, especially because we did not need to run a power cable. We still had to position the solar panel carefully and place the camera near a reliable Wi-Fi signal. Thick walls and distance affected connection stability.
The camera supports microSD storage and works with Reolink’s Home Hub, so we could avoid a subscription. Detection for people, vehicles, and animals reduced some unwanted alerts, but we needed to adjust the settings for our location. We would also shield the USB-C connection from heavy runoff when mounting it outdoors.
Buying Guide
We should choose accessories based on how we plan to install, power, and use the camera. Check compatibility with the camera model, mounting method, weather exposure, and available power sources before buying.
| Feature | What we should check |
|---|---|
| Compatibility | Confirm the accessory supports the camera model and its connection type. |
| Mounting | Choose a secure mount that fits the wall, ceiling, pole, or other surface. |
| Weather resistance | For outdoor use, select materials and seals designed to handle rain, dust, and temperature changes. |
| Power | Check cable length, connector type, charging needs, and placement near an outlet or solar source. |
| Storage | Verify supported storage capacity and whether the accessory meets our recording needs. |
For outdoor installations, we should prioritize durable materials, tight cable connections, and mounts that resist movement in wind. A flexible adjustment range can help us aim the camera accurately without reinstalling the mount.
We should measure distances before choosing cables or extension parts. Extra length can simplify installation, but loose cable should be secured to prevent strain and water from reaching the connections.
For charging accessories, we should compare the installation location, sunlight exposure, cable reach, and charging requirements. Indoor accessories may need different protection from outdoor accessories, especially in damp or dusty areas.
We should also check warranty terms, return policies, included hardware, and installation instructions. Accessories that include the required screws, brackets, or seals can reduce extra purchases and installation time.
Editor’s picks
We recommend the Reolink Solar Panel 2 for owners who install the Argus 4 Pro in a sunny location. It can help reduce charging trips, but we should place it where the panel receives direct sunlight and use a suitable cable length.
For storage, we prefer a high-endurance microSD card with enough capacity for the camera’s recording settings. Continuous recording creates more data than motion-based recording, so we should choose a card rated for frequent writing.
| Accessory | Best for | Key point |
|---|---|---|
| Solar Panel 2 | Outdoor installations | Helps maintain the battery |
| High-endurance microSD card | Local recording | Built for repeated writes |
| Reolink Argus Series waterproof housing | Added weather protection | Check model compatibility |
| Adjustable wall or pole mount | Flexible placement | Supports better viewing angles |
We also recommend an adjustable mount when the included bracket cannot provide the right angle. A stable mount can improve coverage and reduce unwanted obstructions.
For locations exposed to heavy rain, dust, or snow, we can consider a compatible waterproof housing. We should confirm that it supports the Argus 4 Pro before buying, since a poorly fitted cover can block the camera view or affect charging.
Frequently asked questions
Which accessories work with the Reolink Argus 4 Pro?
We can use compatible solar panels, rechargeable batteries, mounting brackets, weatherproof cable covers, and microSD cards. We should check each product’s specifications before buying.
Does the Argus 4 Pro include a solar panel?
The included accessories depend on the package and seller. We should confirm the box contents before ordering a separate solar panel.
Which solar panel should we choose?
We should select a Reolink solar panel made for the Argus 4 Pro. We also need to place it where it receives direct sunlight for several hours each day.
Can we use a third-party microSD card?
Yes, but we should choose a high-endurance card that matches the camera’s supported capacity. A suitable card helps handle repeated video recording.
Do we need a separate mounting bracket?
The camera may include a basic mount, but we might need an extra bracket for a wall, ceiling, corner, or pole installation. We should confirm the bracket’s fit before purchase.
How can we protect outdoor connections?
We can use weatherproof cable glands, silicone seals, and protective covers. These accessories help reduce exposure to rain, dust, and moisture, but they do not replace proper installation.
Can we buy spare batteries?
We should use batteries approved for the Argus 4 Pro. Before purchasing, we need to check the camera model and battery specifications.
Conclusion
We can match the Reolink Argus 4 Pro with accessories that suit our setup, whether we need longer battery life, easier mounting, or more reliable connections. A solar panel helps reduce charging, while a spare battery keeps the camera running during extended use.
We should choose mounts based on the installation surface and viewing angle. A memory card provides local recording, and a weatherproof enclosure may add protection in exposed locations.
Before buying, we should check compatibility with the Argus 4 Pro and confirm that each accessory fits our power, storage, and placement needs. This approach helps us avoid unnecessary parts and build a practical security system.